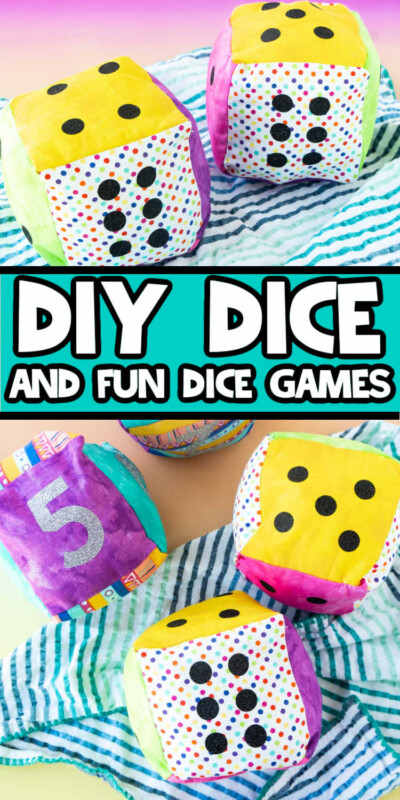
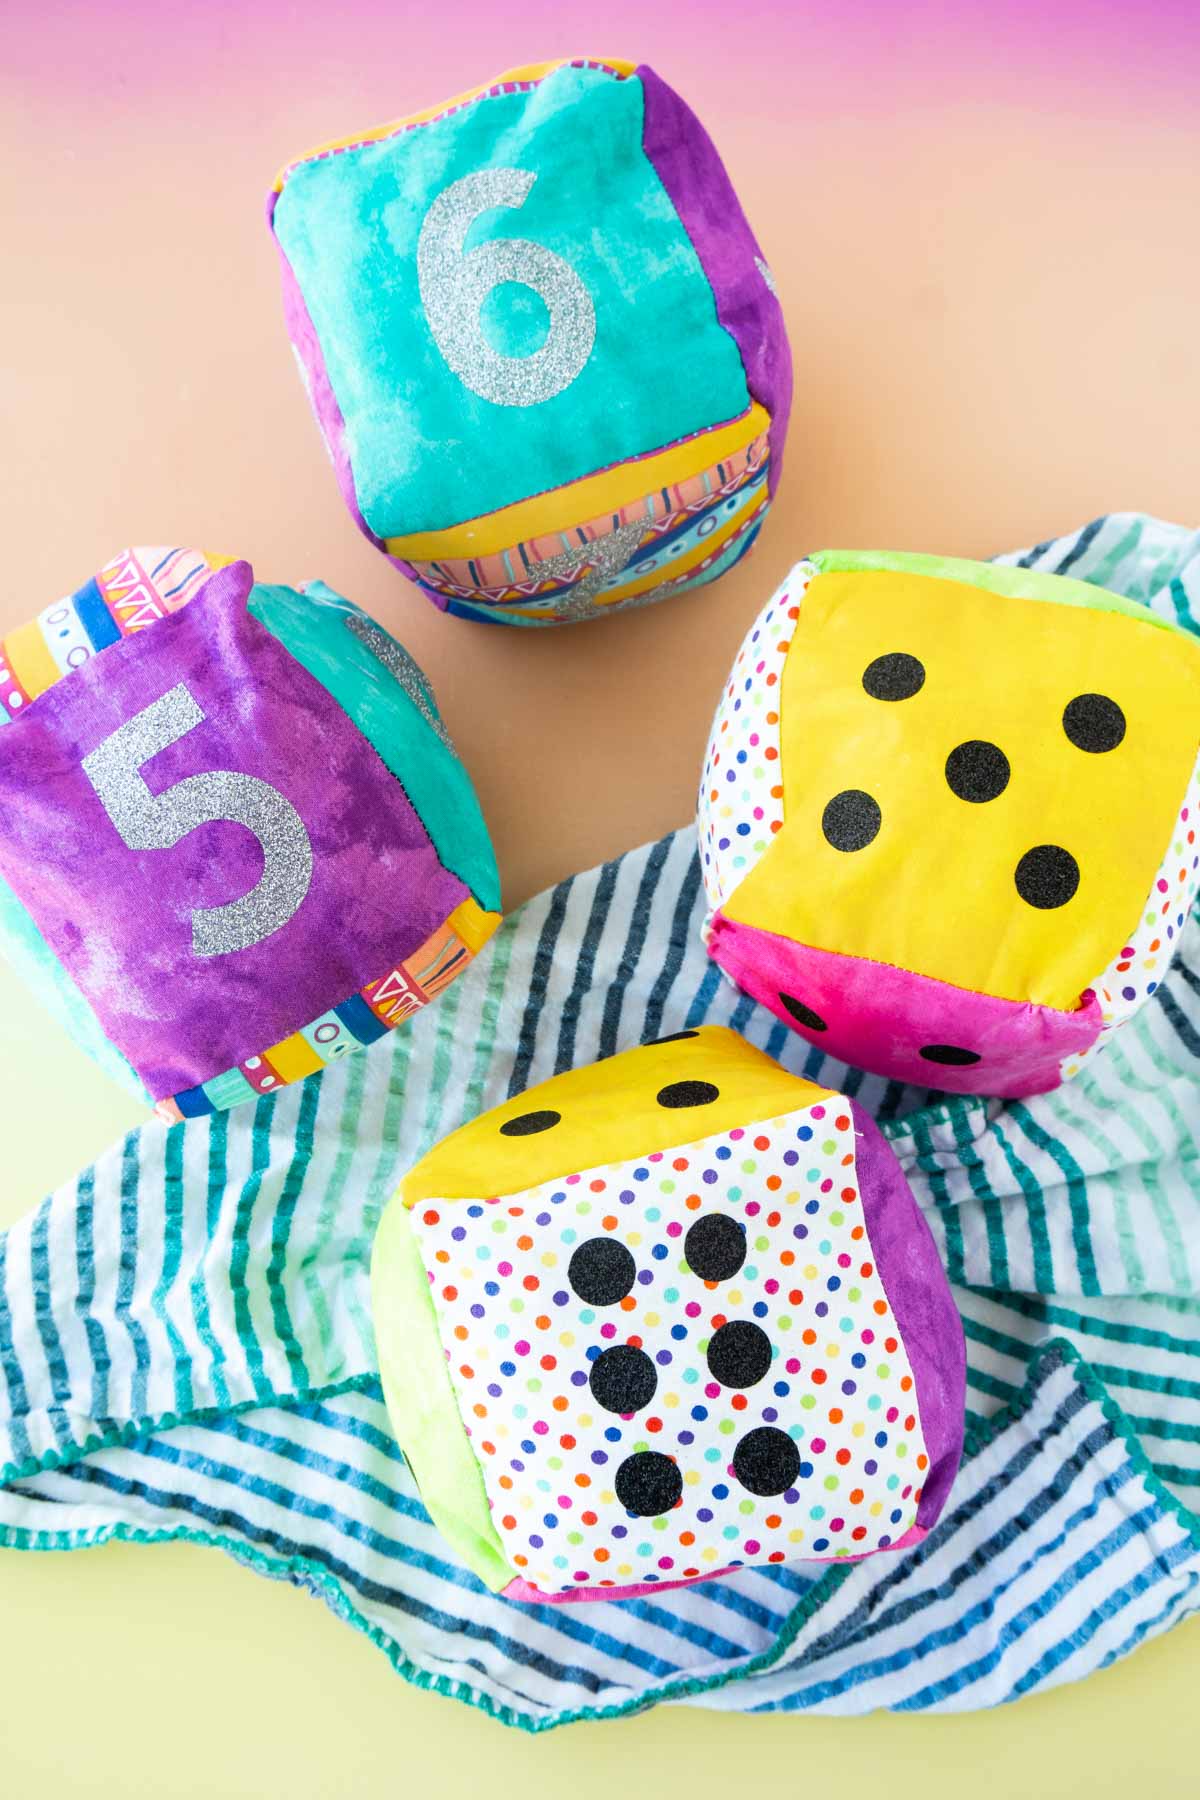
My family loves games. Board games, party games, trivia games – you name it. Every night at dinner my oldest son asks if we can play a game – literally every single night. We also love dice games. The problem with dice games is that I also have a toddler who really likes to put little dice in his mouth. And one of these days putting it into his mouth is going to turn into accidentally swallowing said dice. So I thought it would be fun to make a set of soft DIY dice that we can use inside (unlike those big wooden yard dice, we have a set of those too), that are too big to fit in my kiddo’s mouth, and that are honestly just fun to play with. They were SO easy to make that I actually ended up making two sets – one set of actual dice and then a set with numbers for kids practicing numbers that may not be ready for actual dice counting yet.
Why You’ll Love These Dice
Customizable – while I made actual dice and numbered “dice,” you could totally customize these with six sides that say whatever you want. Make them workout dice, make them chore dice, make them into really anything. Choose fabrics – since you’re making the dice, you can make them as colorful (or neutral) as you want. I like color so I went bright and bold. You could make them match a birthday party theme, make them Christmas dice (for something like this dice gift exchange), or just pick fun fabrics you love. Super easy – I don’t really sew and I made a set of DIY dice from start to finish in 30 minutes. The sewing is straight lines and even if you’re not great at that, your not so straight lines are hidden when you flip the blocks inside out! Plus, all of your pieces will be perfectly cut with the Cricut Maker! Soft – unlike the hard wood dice you can buy everywhere, these soft dice won’t hurt your hardwood floors, they won’t hurt other people (do only my kids throw things at each other!??!), and they’re light enough for kids to toss. Great for group games – another reason I wanted dice was so that when we play group dice games, we could use large blocks that everyone can see. Like for instance, one of my favorite birthday party games includes people rolling the dice around a circle, it’s WAY more fun when you can see what other people rolled!
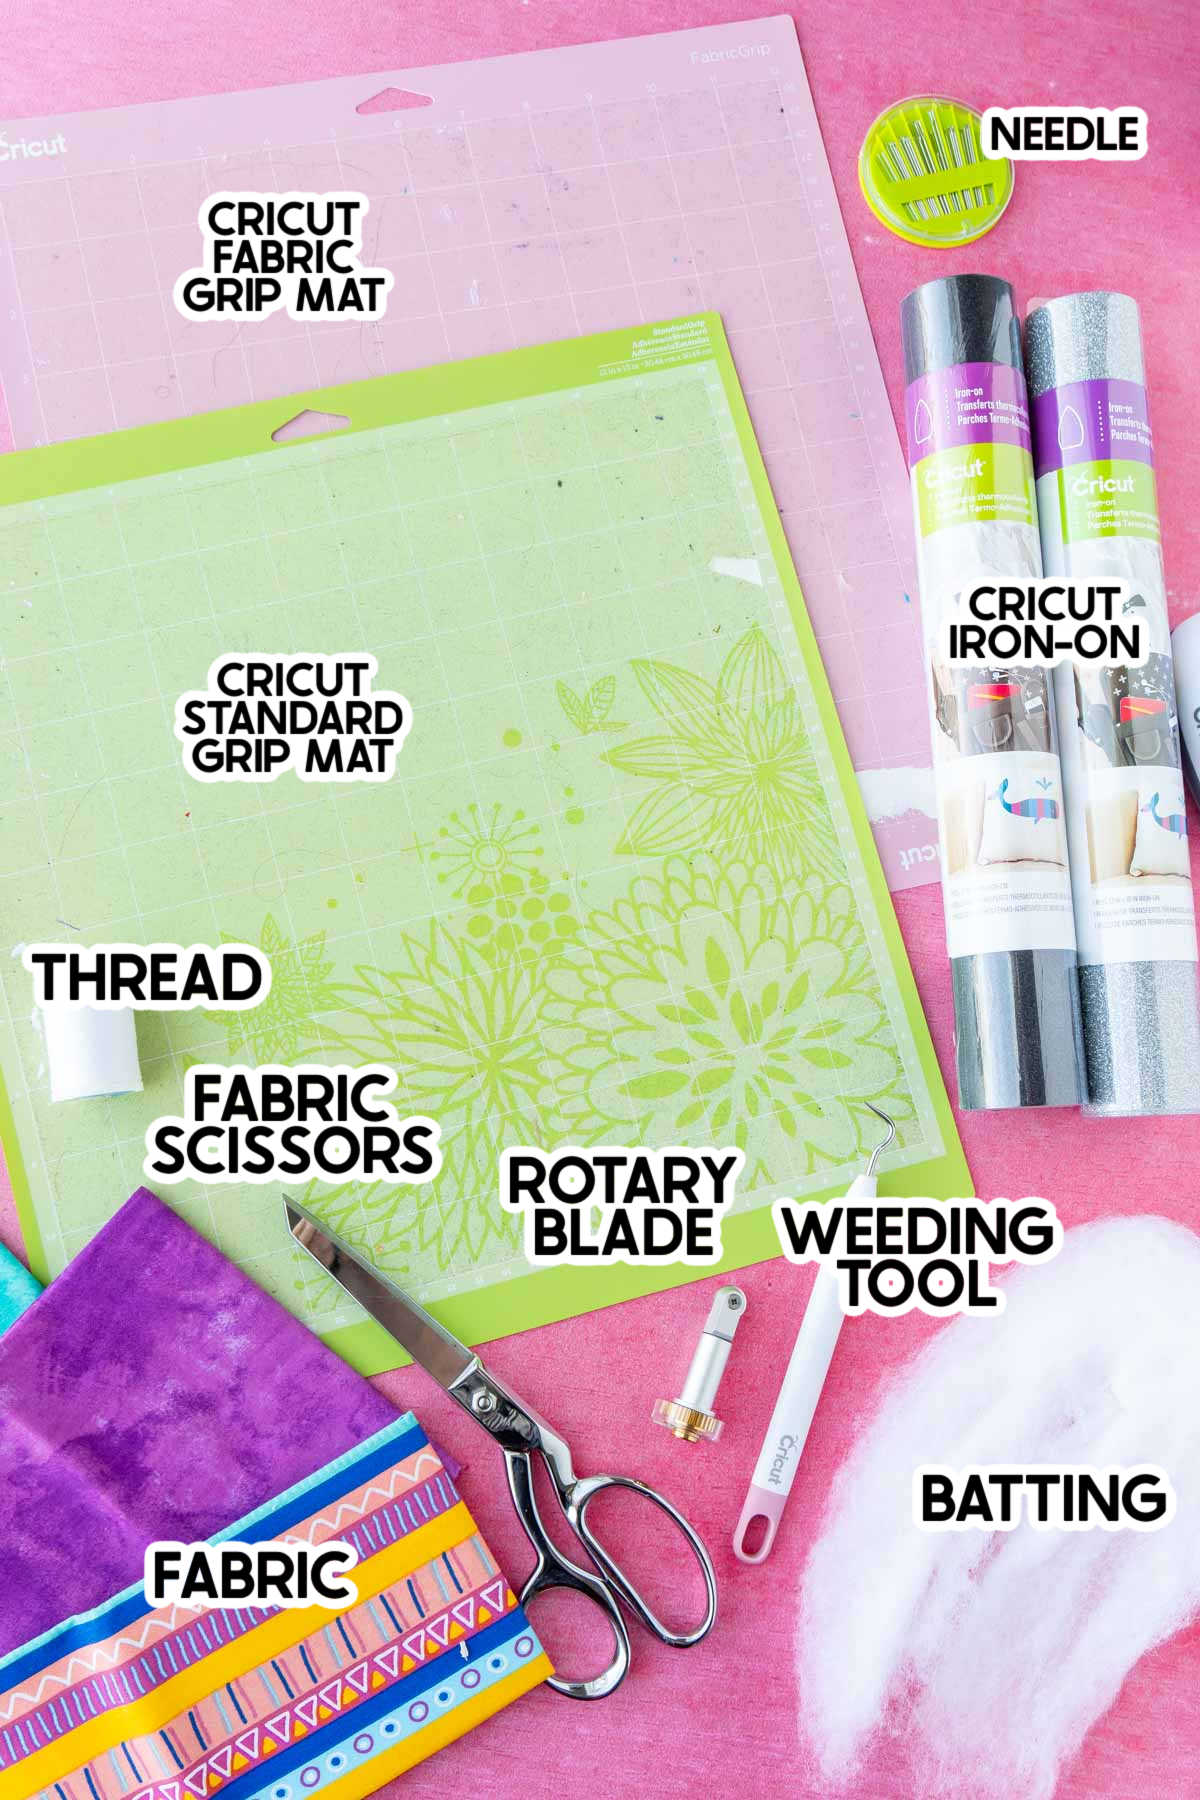
DIY Dice Supplies
Supply Notes
Cricut Iron-On – I used glitter iron-on for both sets of dice I made but you could really use any sort of iron-on that matches your fabric! Cricut has a TON of options and colors to choose from here. Weeder – depending on what design you’re cutting and what type of iron-on you use, you may or may not need this. I used simple letters without any inner pieces and dots so I didn’t actually use the weeding tool, but if you customize the text or designs, you may. It’s one of my must-have Cricut Maker accessories for sure! Rotary Blade – The rotary blade is used for cutting your fabric, and it’s pretty much amazing. Because it spins (unlike the regular fine point blade), it can cut perfect edges no matter whether you’re cutting squares or designs with a bit more flare. The rotary blade comes standard with a Cricut Maker but if you need a replacement, you can get one here. Cricut Mats – you’ll need both a FabricGrip mat (for fabric) and a StandardGrip Mat (for the iron-on) for this project. The FabricGrip Mat is designed to hold your fabric without slipping as well as to handle the rotary cutter (compared to the fine-point blade).Batting – any type of sewing batting is fine. I used standard loft batting that I picked up at my local craft store. Fabric – any cotton fabric works great! I recommend doing the sides all different colors of fabric or two sides of three different fabrics. Thread – the thread color really shouldn’t matter since it’ll be mostly on the inside, but if you want to match your fabrics, go for it! Needle – you’ll need both to do a little sewing machine sewing and some hand sewing to finish off your dice. I like smaller needles for smaller holes but use whatever you have. Fabric Pen – if you’re someone who actually uses seam allowances, the design is created with dots to indicate seam allowances. Load a Cricut Fabric Pen into the pen slot on the Maker to add these to your fabric for sewing.
Equipment needed
In addition to the supplies above, you’ll also need:
Cricut Maker – the Cricut Maker is designed for cutting fabric and so many other materials. You can use it to cut both your fabric squares plus the dice designs in iron-on. Plus there are tons of other things you can make with a Cricut Maker! Cricut EasyPress – really you could use either version of the Cricut EasyPress or even a Mini Press since the numbers are fairly small, totally up to you. If you don’t have either of these, you can also use an iron, just make sure it heats as evenly as possible. Ideally, you’ll also want a Cricut EasyPress mat (comes with the EasyPress). Sewing Machine – anything that sews works, the sewing involved is super basic! DIY Dice Cricut Design – if you want to start with my design, you can get it here. There are a bunch of hidden 4×4 squares (just unhide them in the right side toolbar) as well as numbers and dice dots all created for you.
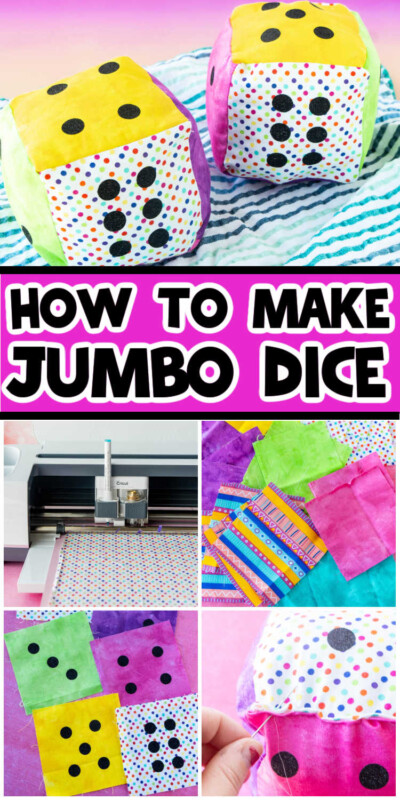
How to Make DIY Dice
Okay so now comes the fun part – how to actually make those super cute dice! There’s a lot here, but that’s only because I wanted to make it as easy as possible for you to follow along. Like I said, I don’t sew so I wanted to make this foolproof for those of you like me!
1 – Prep Your Materials
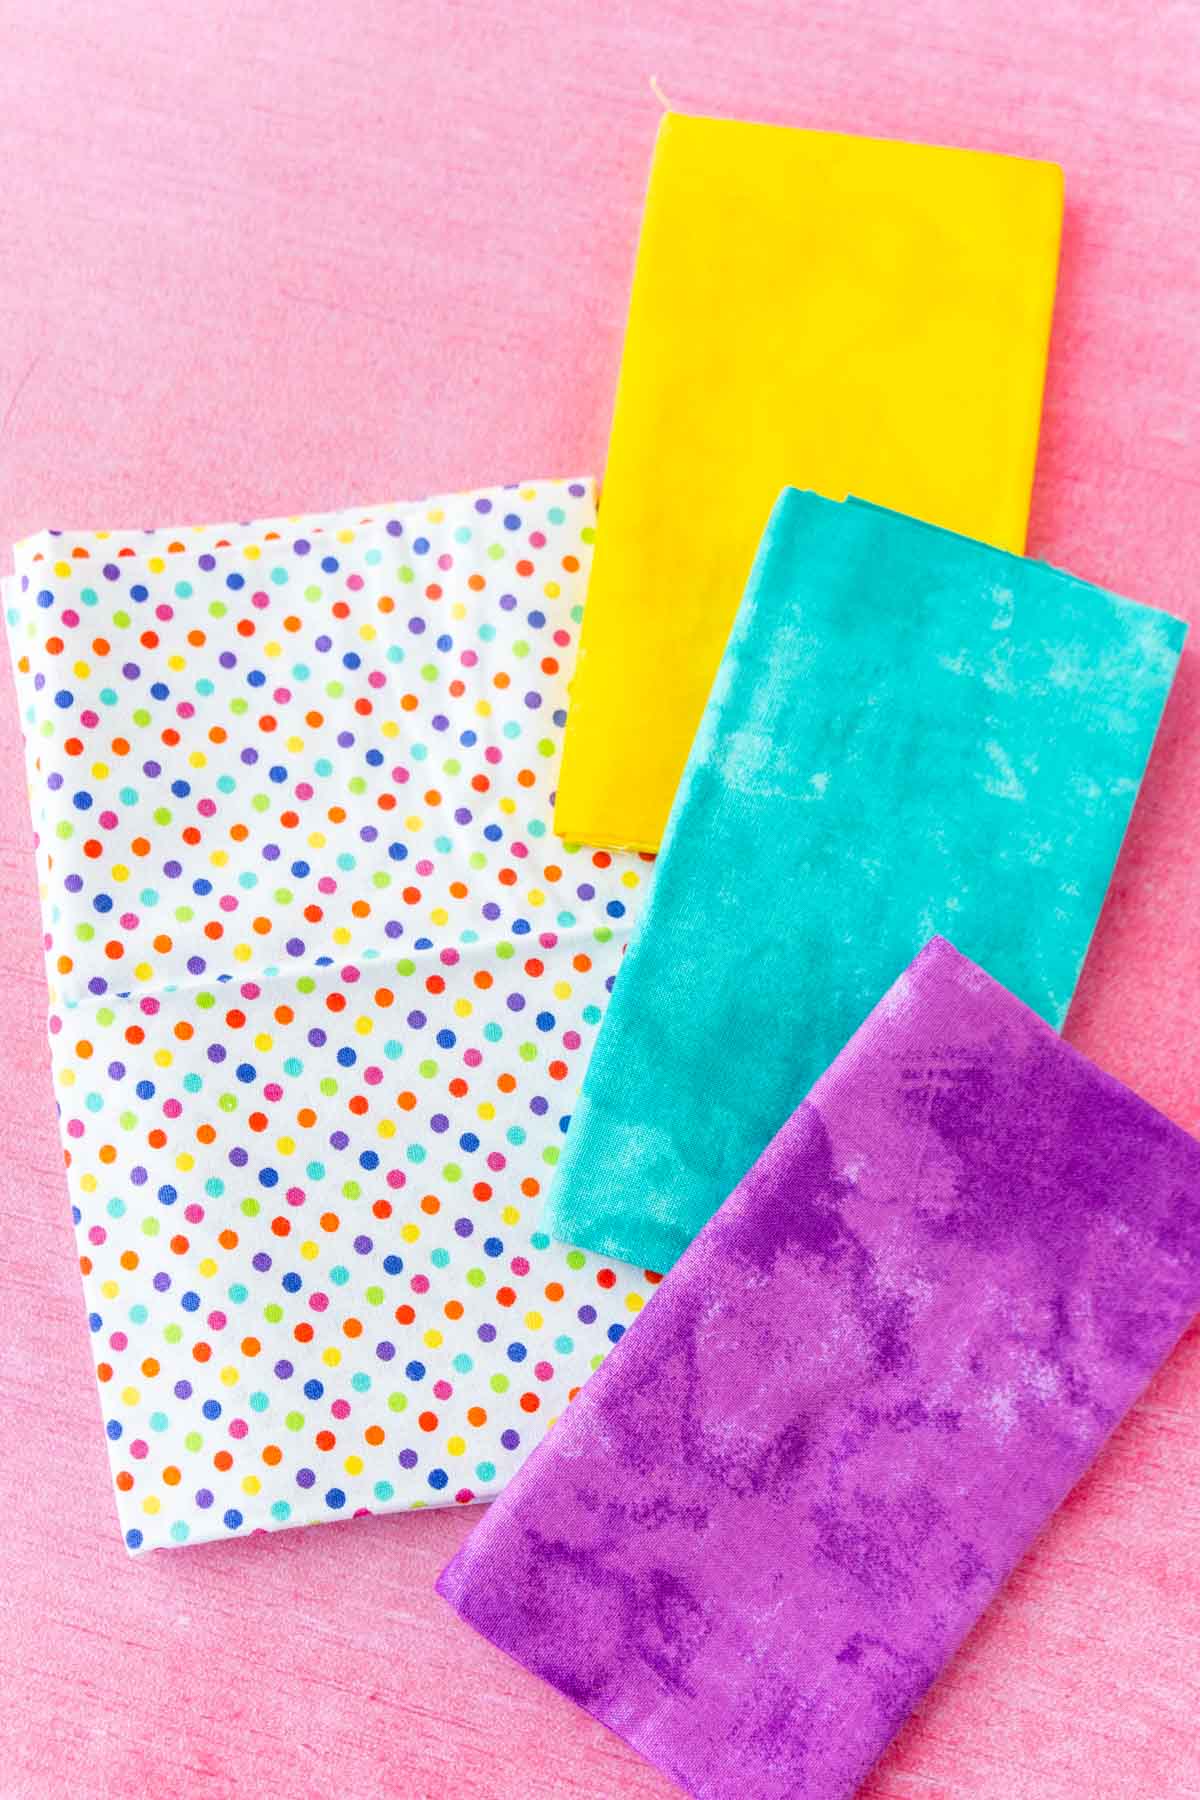
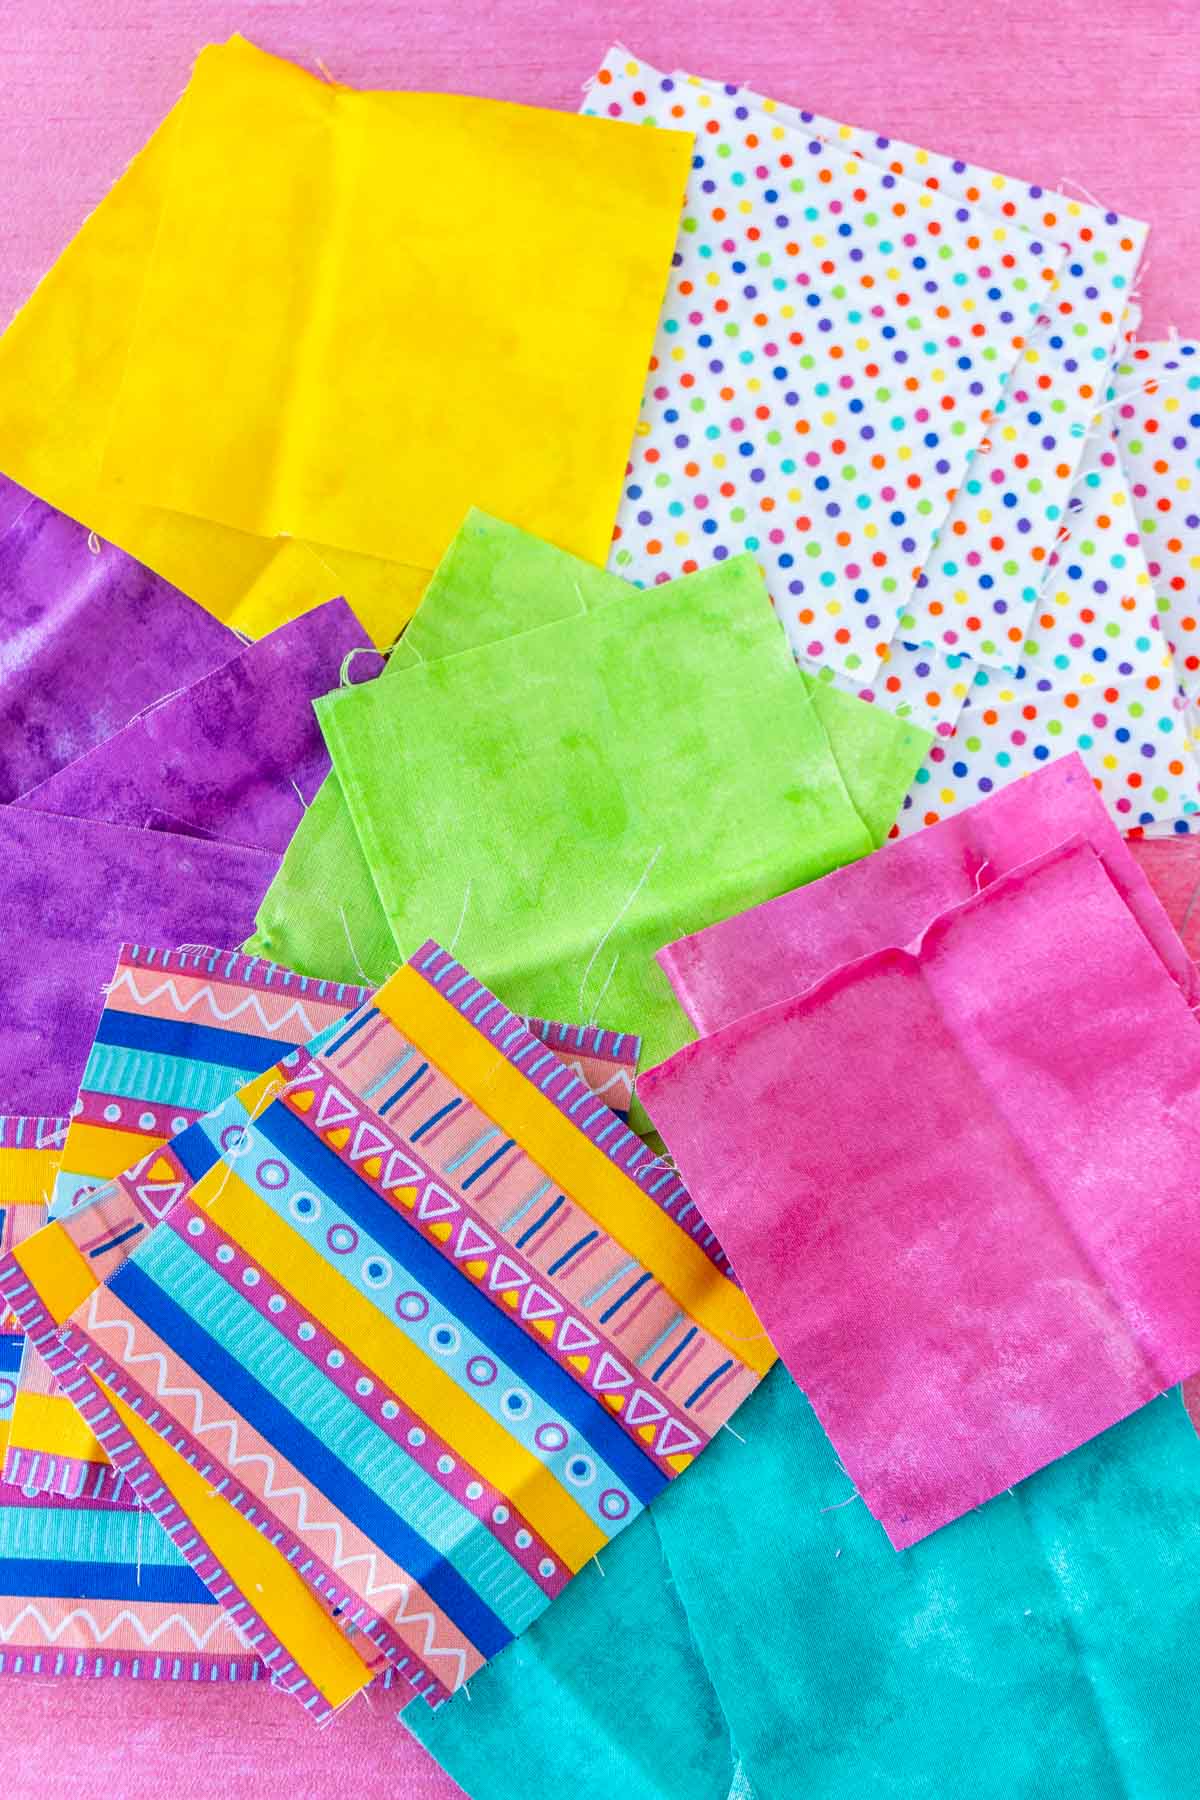
The first step is to decide what you want on your dice. I’m going to assume that you’re just going to make regular dice (dots and numbers) and show you instructions for that! Then choose your fabrics. Like I mentioned above, I recommend doing one of the following fabric combinations: If you do more than two blocks of any given color, you’ll end up with the same fabric side by side at some point on the dice. You’ll also want to choose out iron-on that coordinates with the fabric color you chose. If you’re doing all light colors, I recommend choosing a dark iron on and vice versa. You want the dice to be easily readable whether you’re the one rolling or reading them from across the circle.
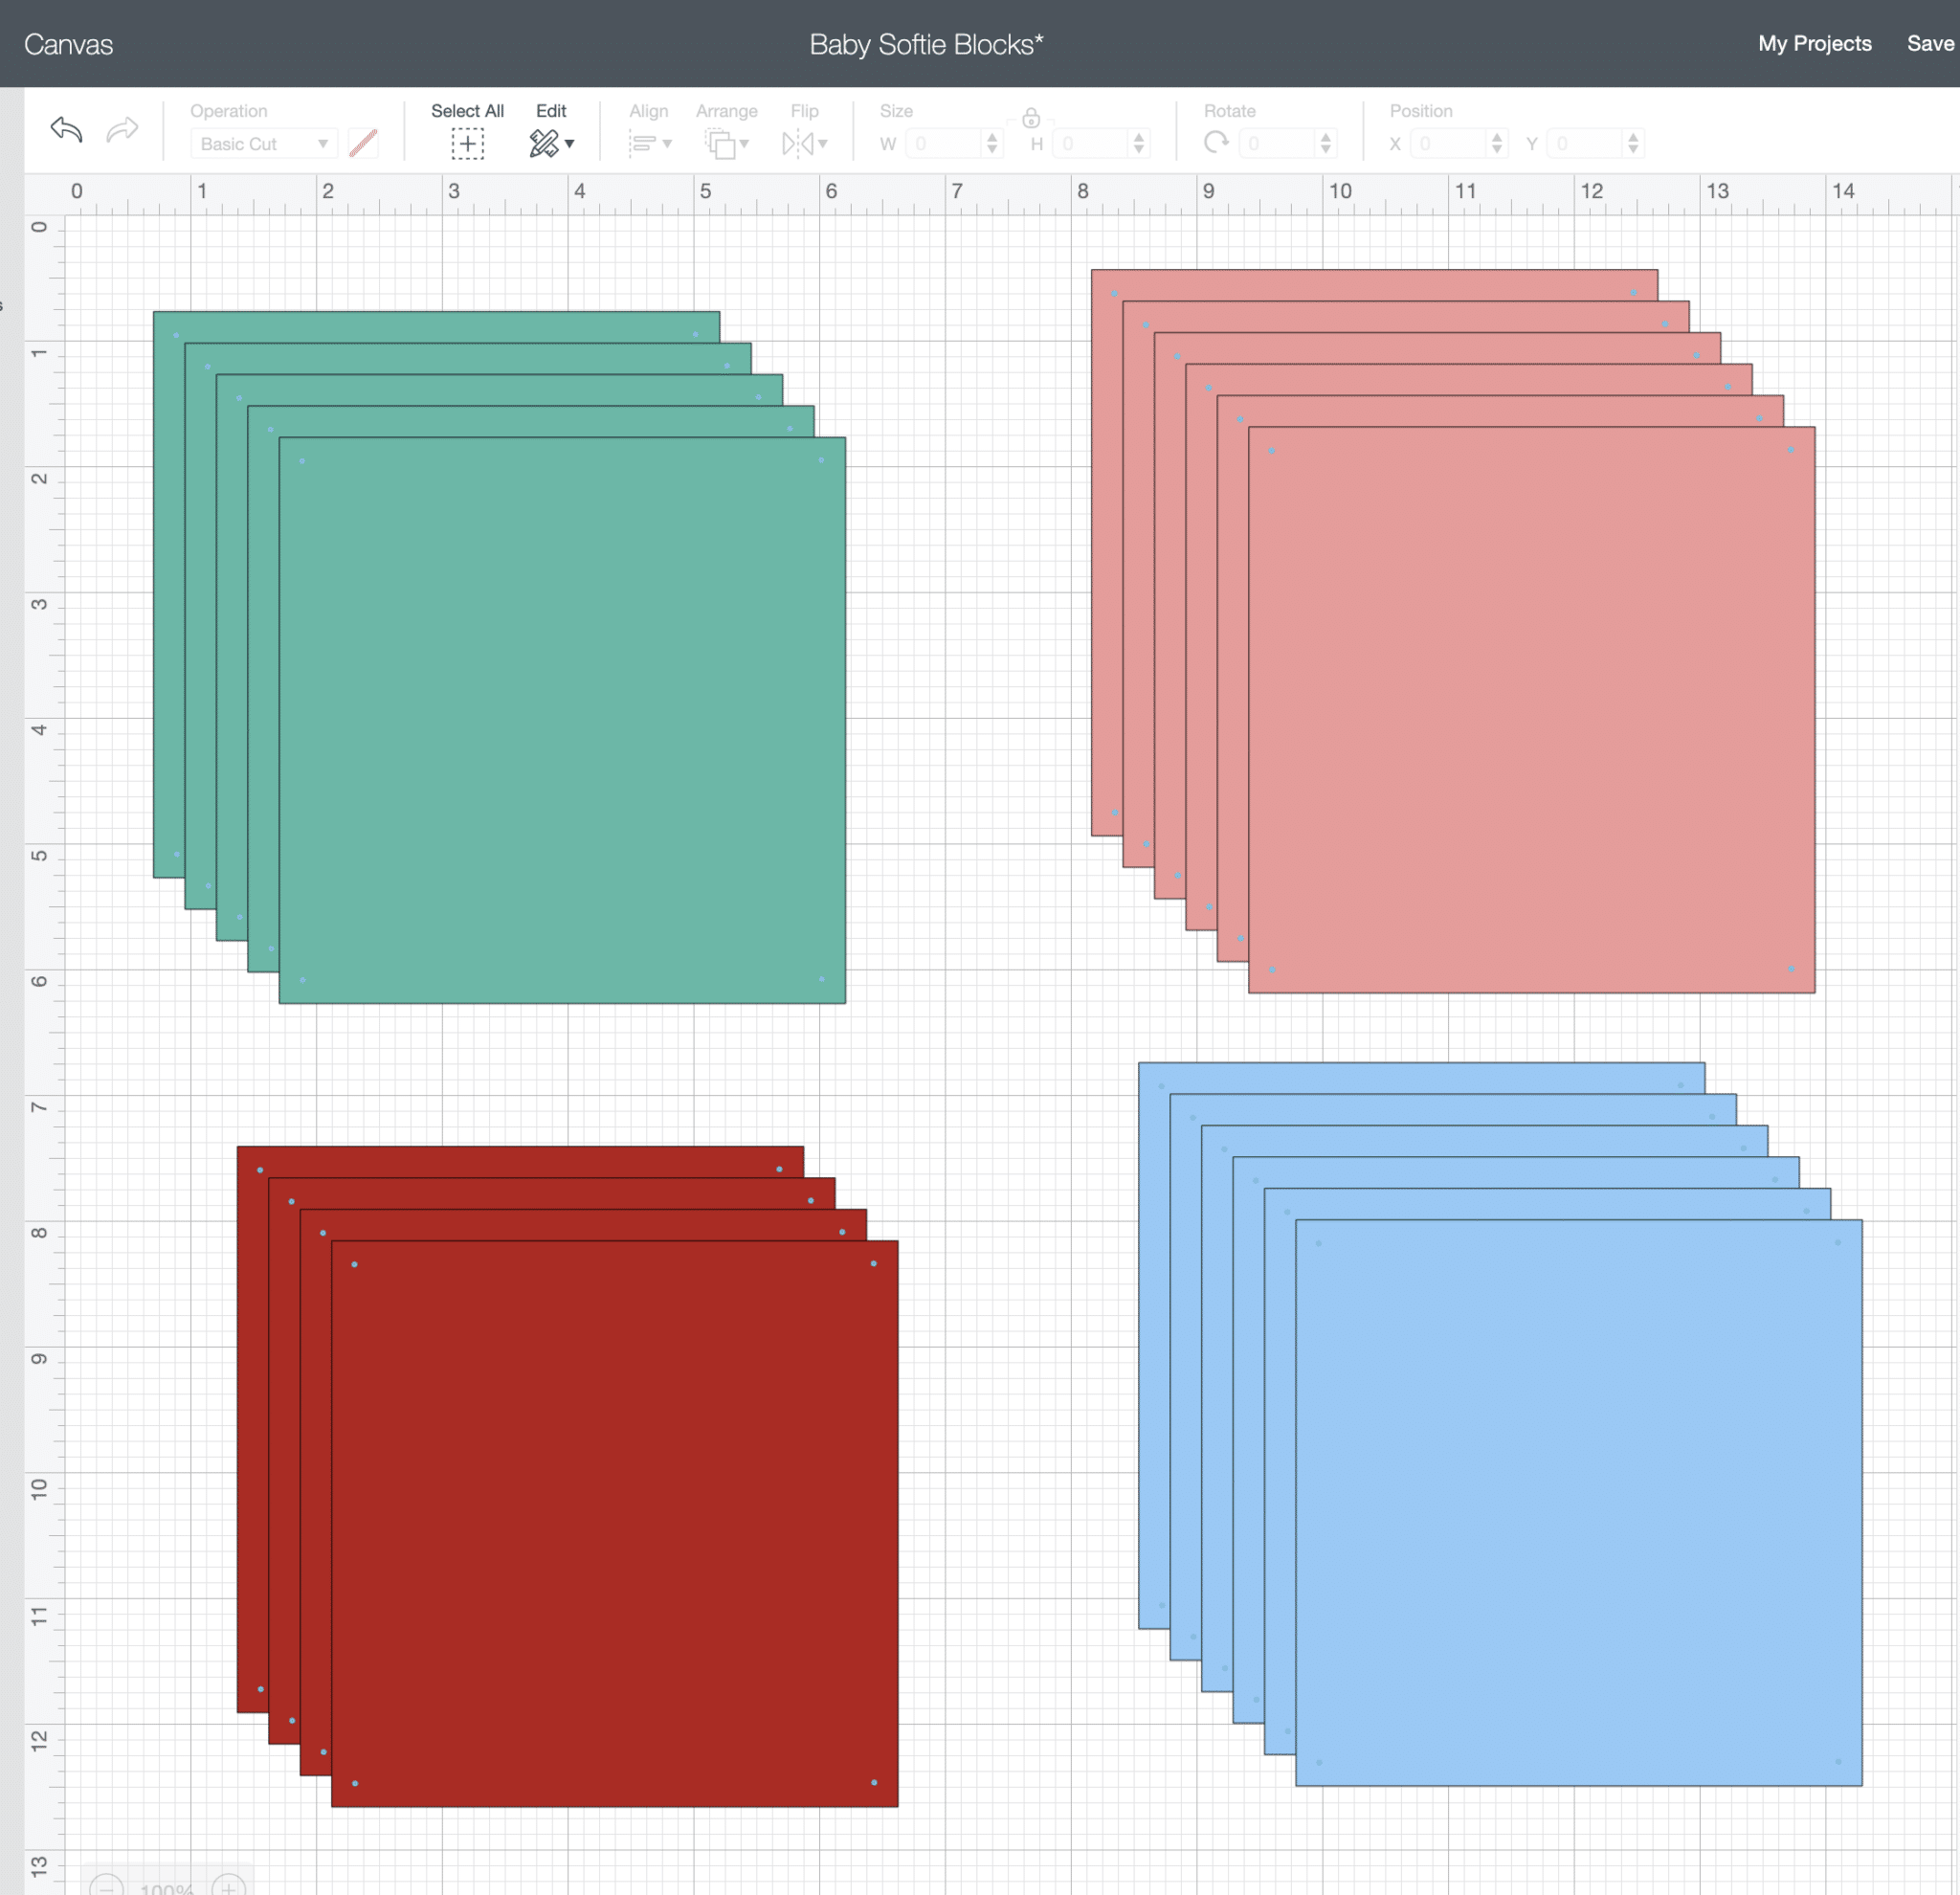
2 – Finalize the Design
If you’re just doing regular dice, start by opening my DIY dice design in Cricut Design Space. The squares are currently hidden so you’ll need to choose the Customize It option and unhide blocks for your fabric squares. Each color squares represents a different fabric on your dice. Make sure your design has the correct amount of squares for your dice. Each side = one square. Hide numbers, dice dots, and squares that you’re not using so that the only thing left on your screen is what you’ll actually need to cut for YOUR dice.
3 – Cut Fabric Squares
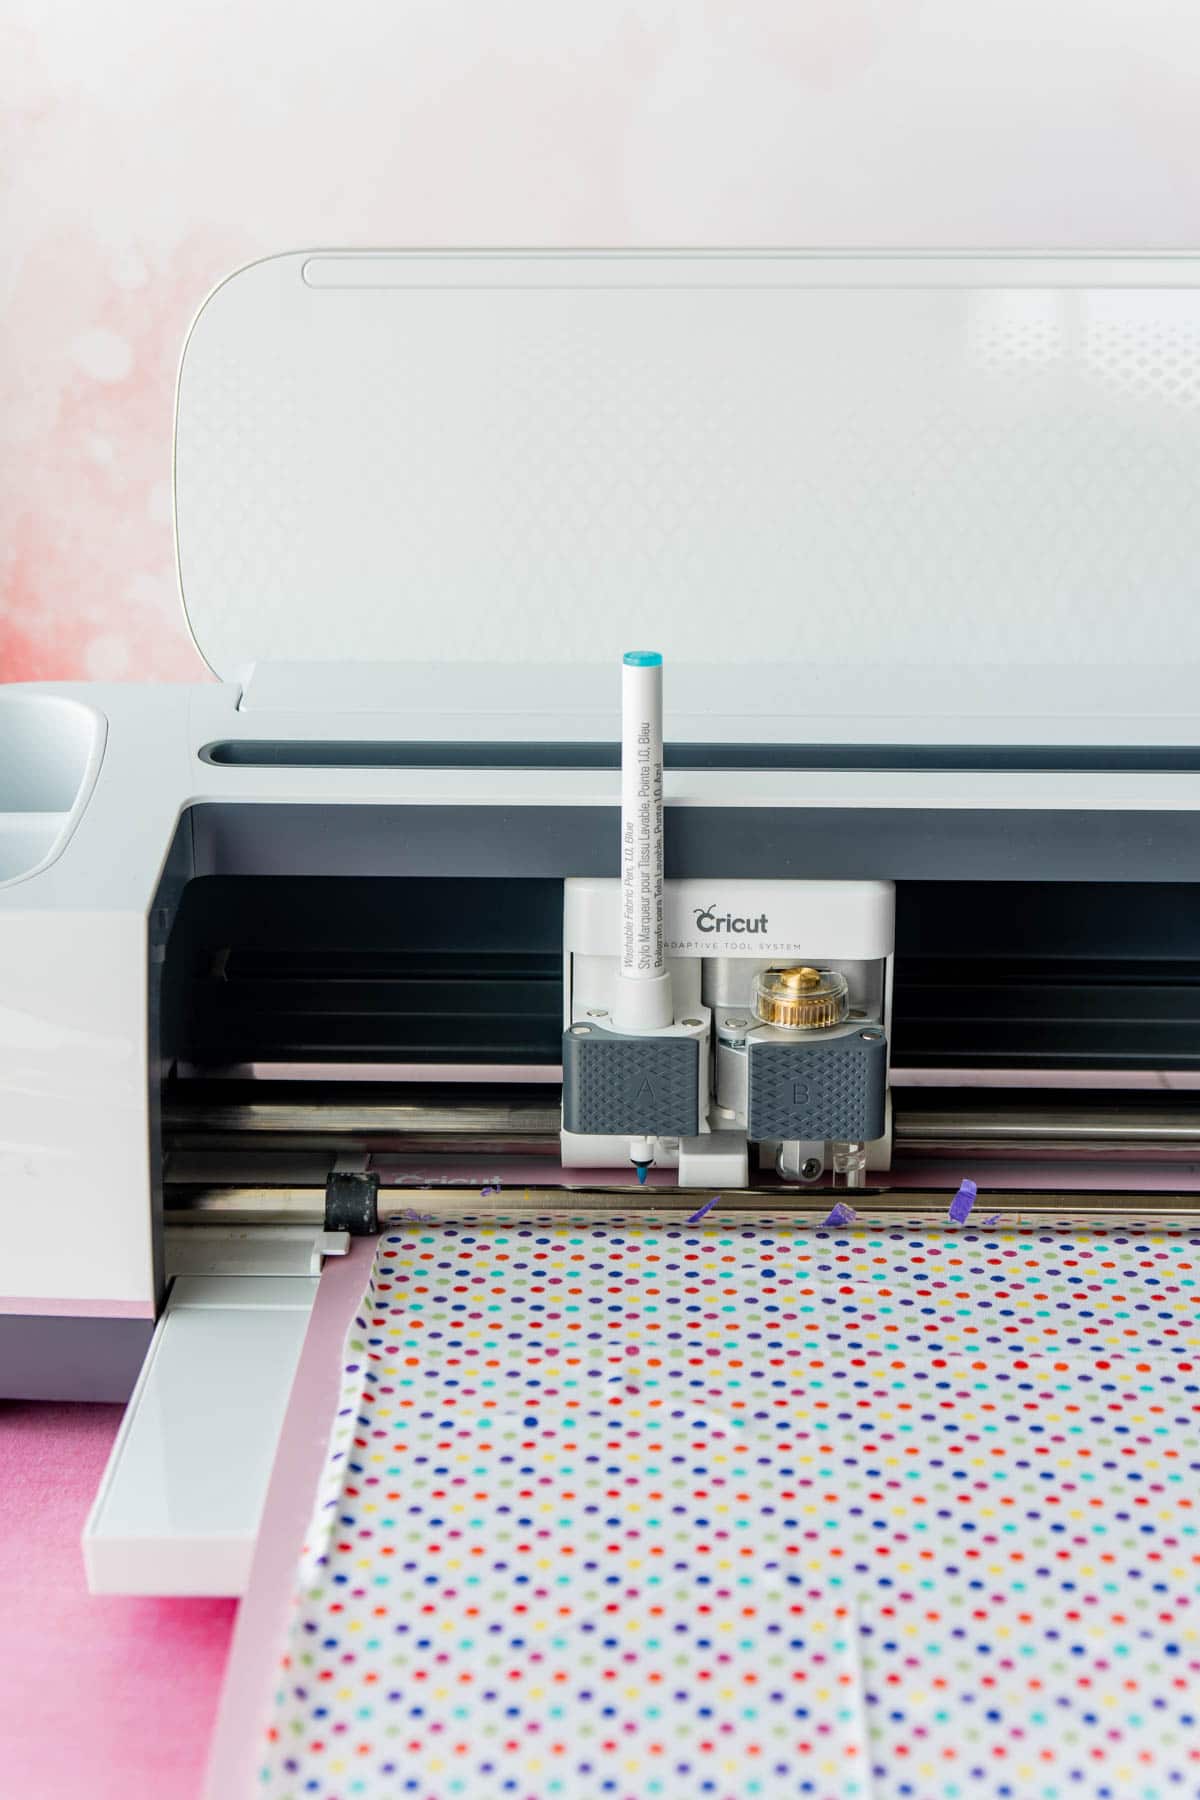
Once your design is complete, click the Make It button in the top right hand side of your screen. Follow the prompts to choose your Cricut Maker, choose the correct fabric (cotton), and load your rotary blade and fabric pen loaded (if not already done).
Place your fabric on the FabricGrip Mat with the right side facing down (make sure to press it down, or use a Brayer) then load the mat into the Maker. When your Cricut button starts flashing, press it to start.
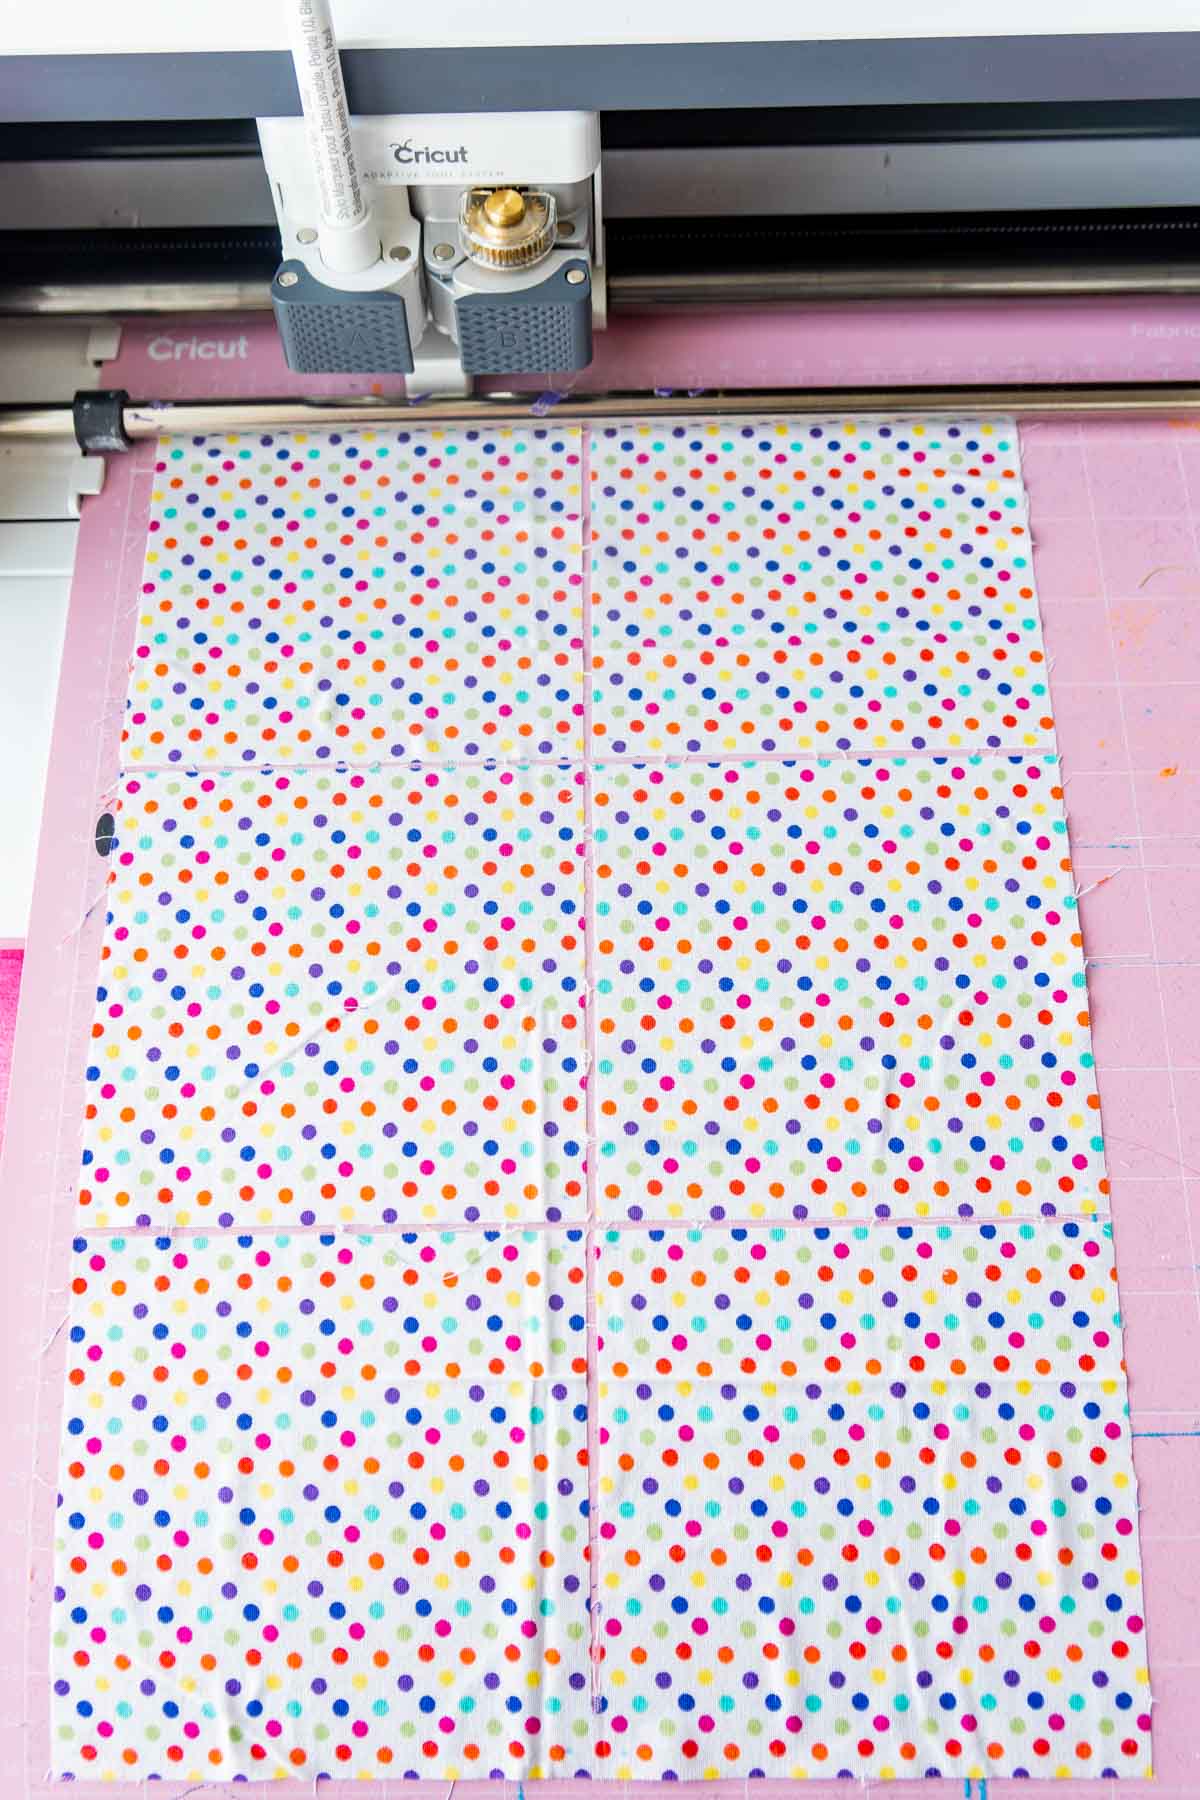
It’ll first use the fabric pen to make dots to indicate seam allowance then use the rotary blade to cut the actual squares.
After it’s done cutting, carefully remove the leftover fabric from the mat and you’ll be left with perfect squares.
Once one set of squares is done, switch out your fabric and cut the next set. Repeat until all of your fabric squares are cut.
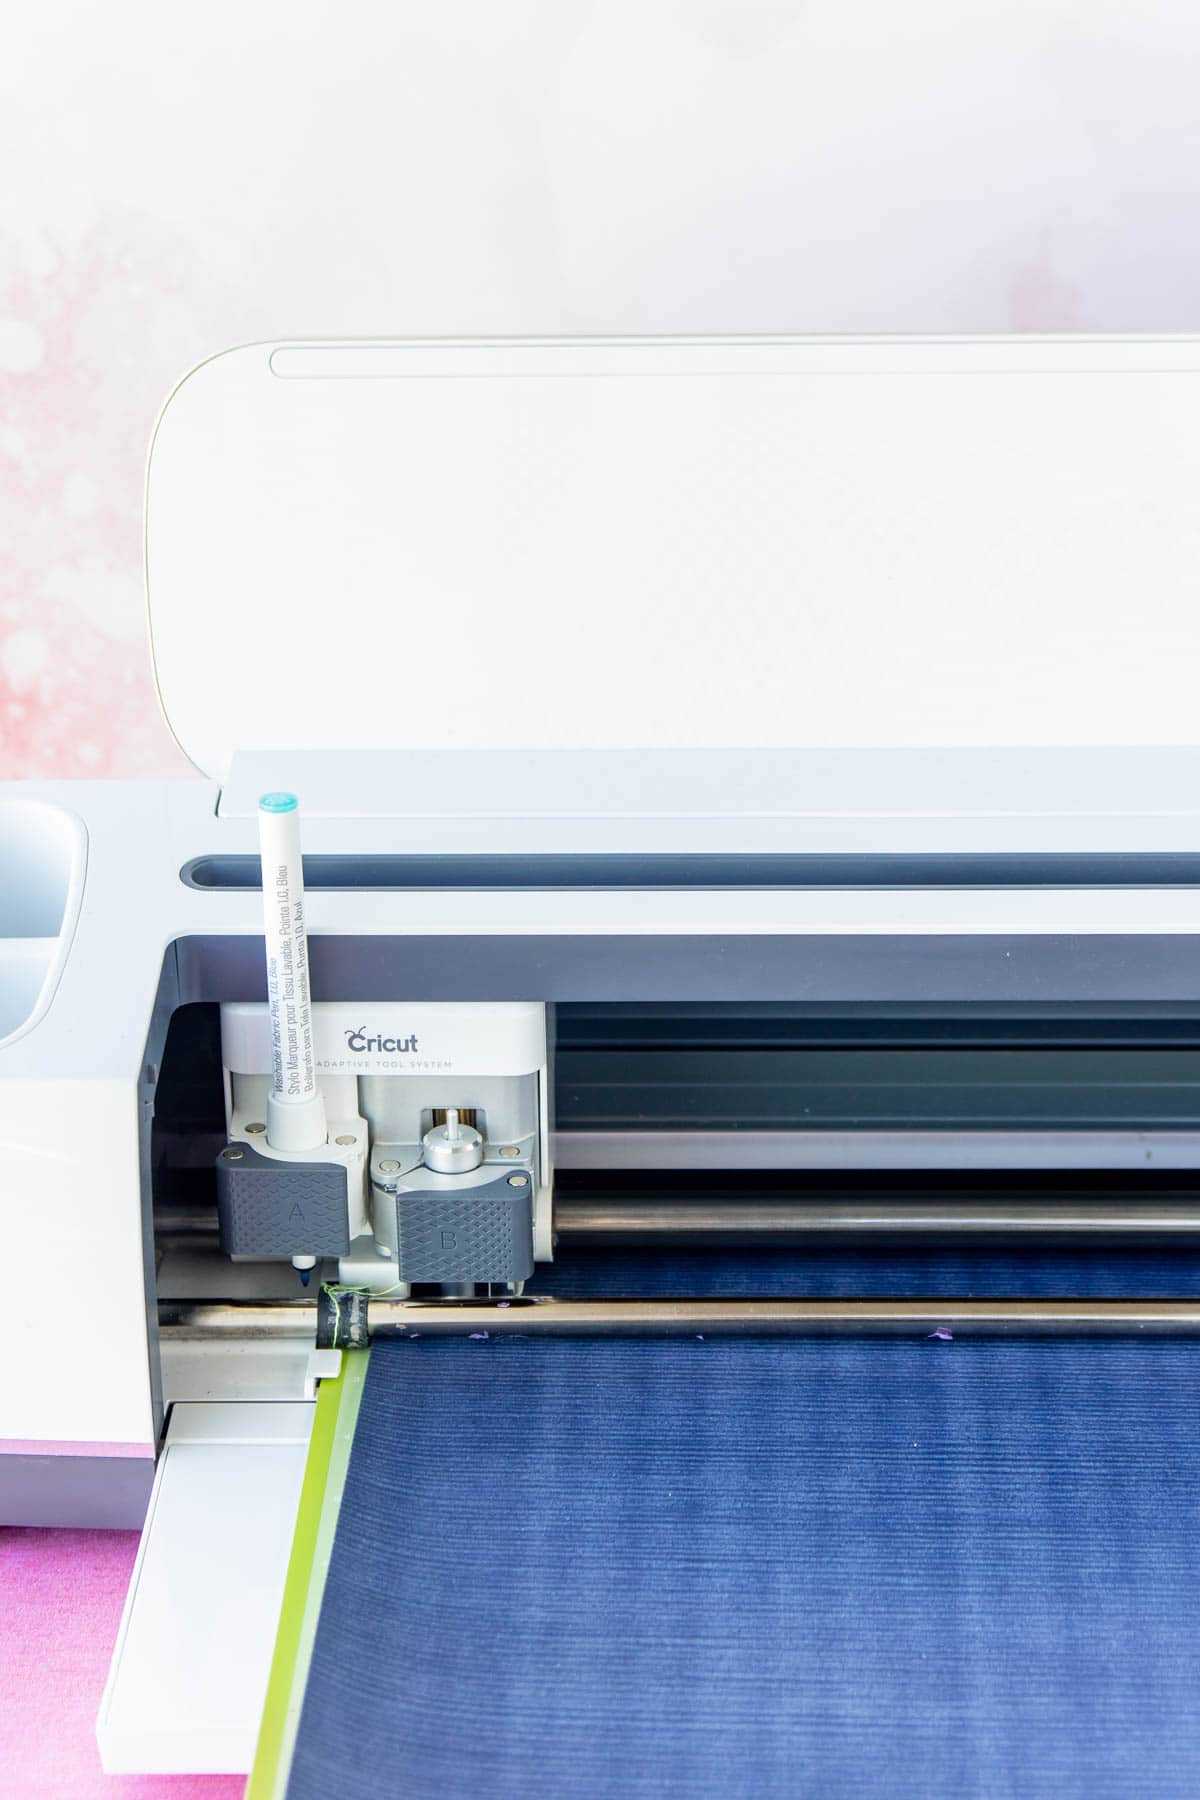
4 – Cut Iron-On Vinyl
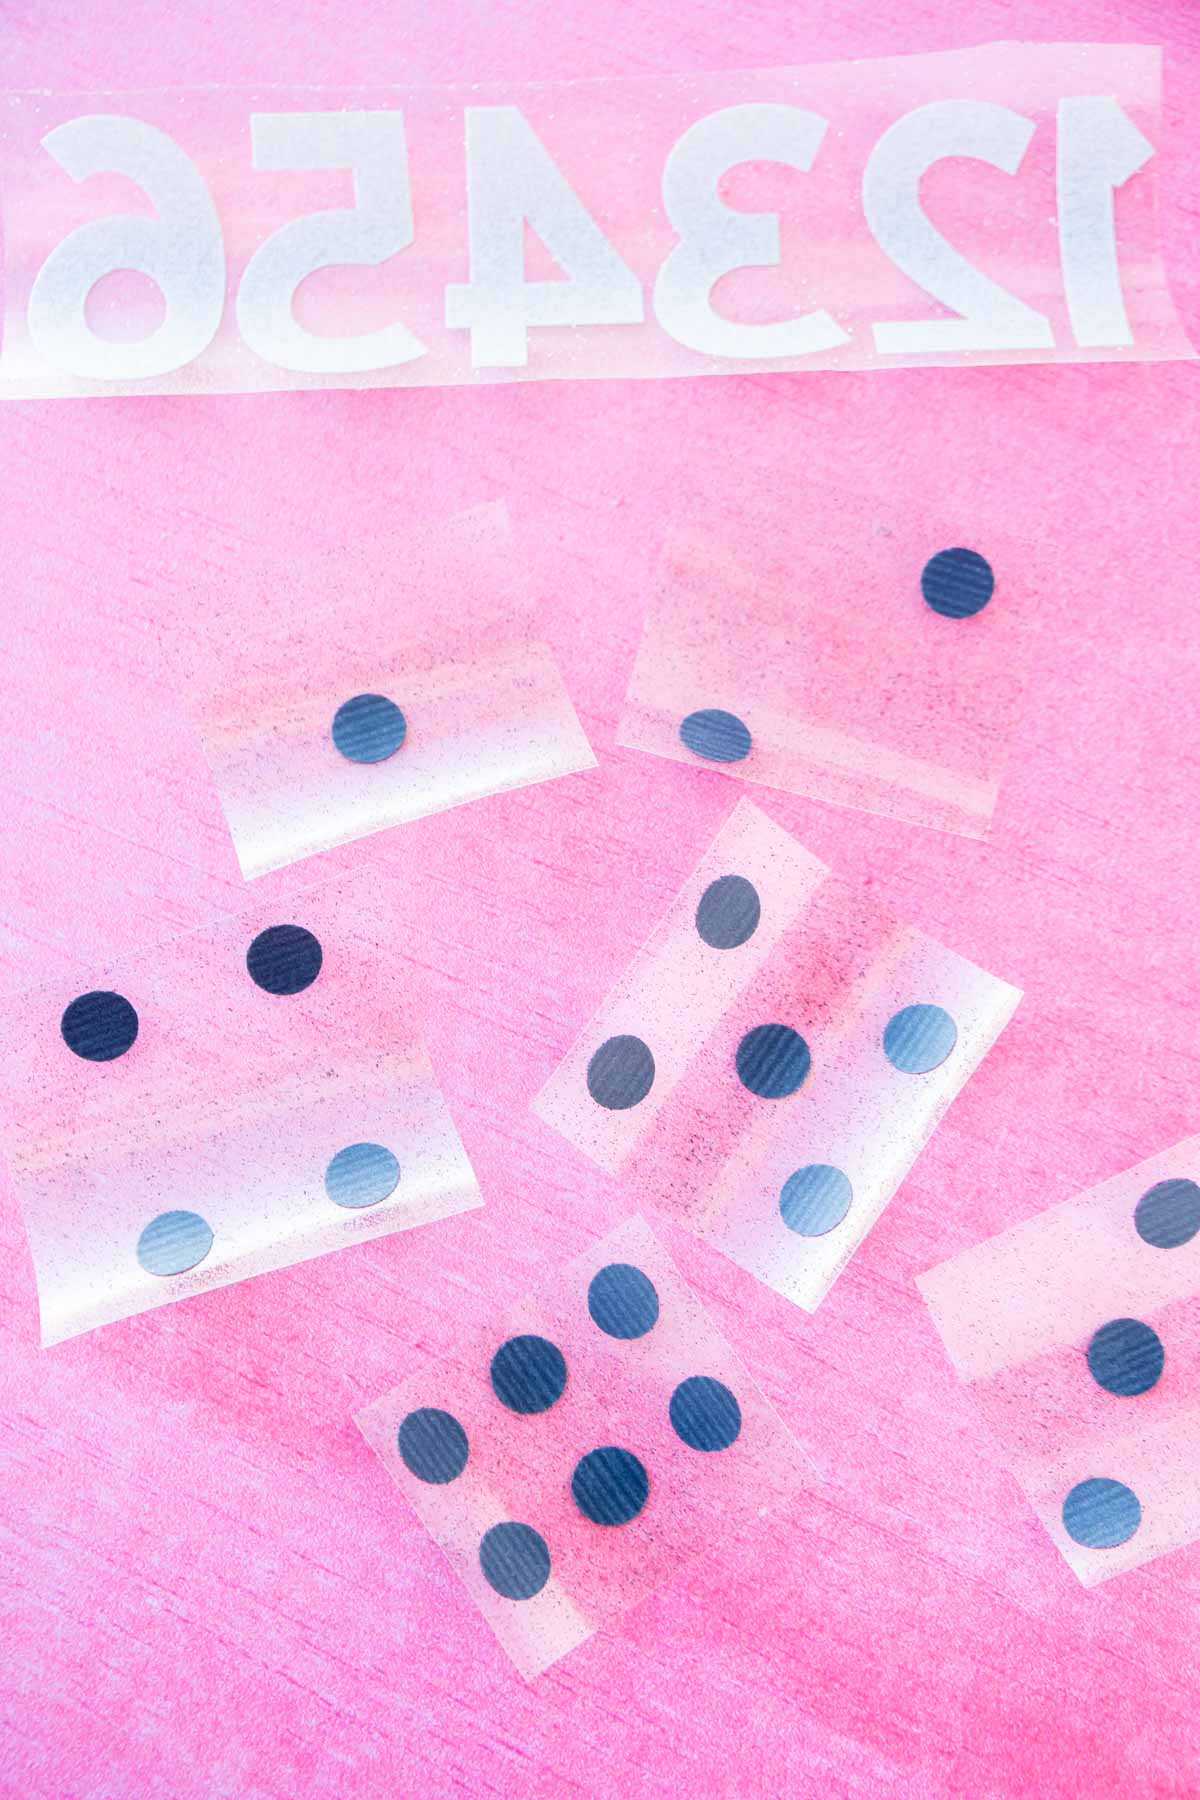
Once all of your fabric squares are cut, it’s time to cut your vinyl. Switch the rotary blade for a fine-point blade then follow the prompts to choose your iron-on material. Load your iron-on good/shiny side down onto a StandardGrip mat. Click the flashing Cricut button to cut. When the iron-on is done being cut, carefully remove the vinyl from the mat. Use a weeder to remove any excess pieces of vinyl that are not part of your design (if necessary). You should be left with iron-on vinyl with a clear plastic piece on the bottom. Don’t remove this plastic portion, you’ll need it for the ironing step next!
5 – Iron On Your Vinyl
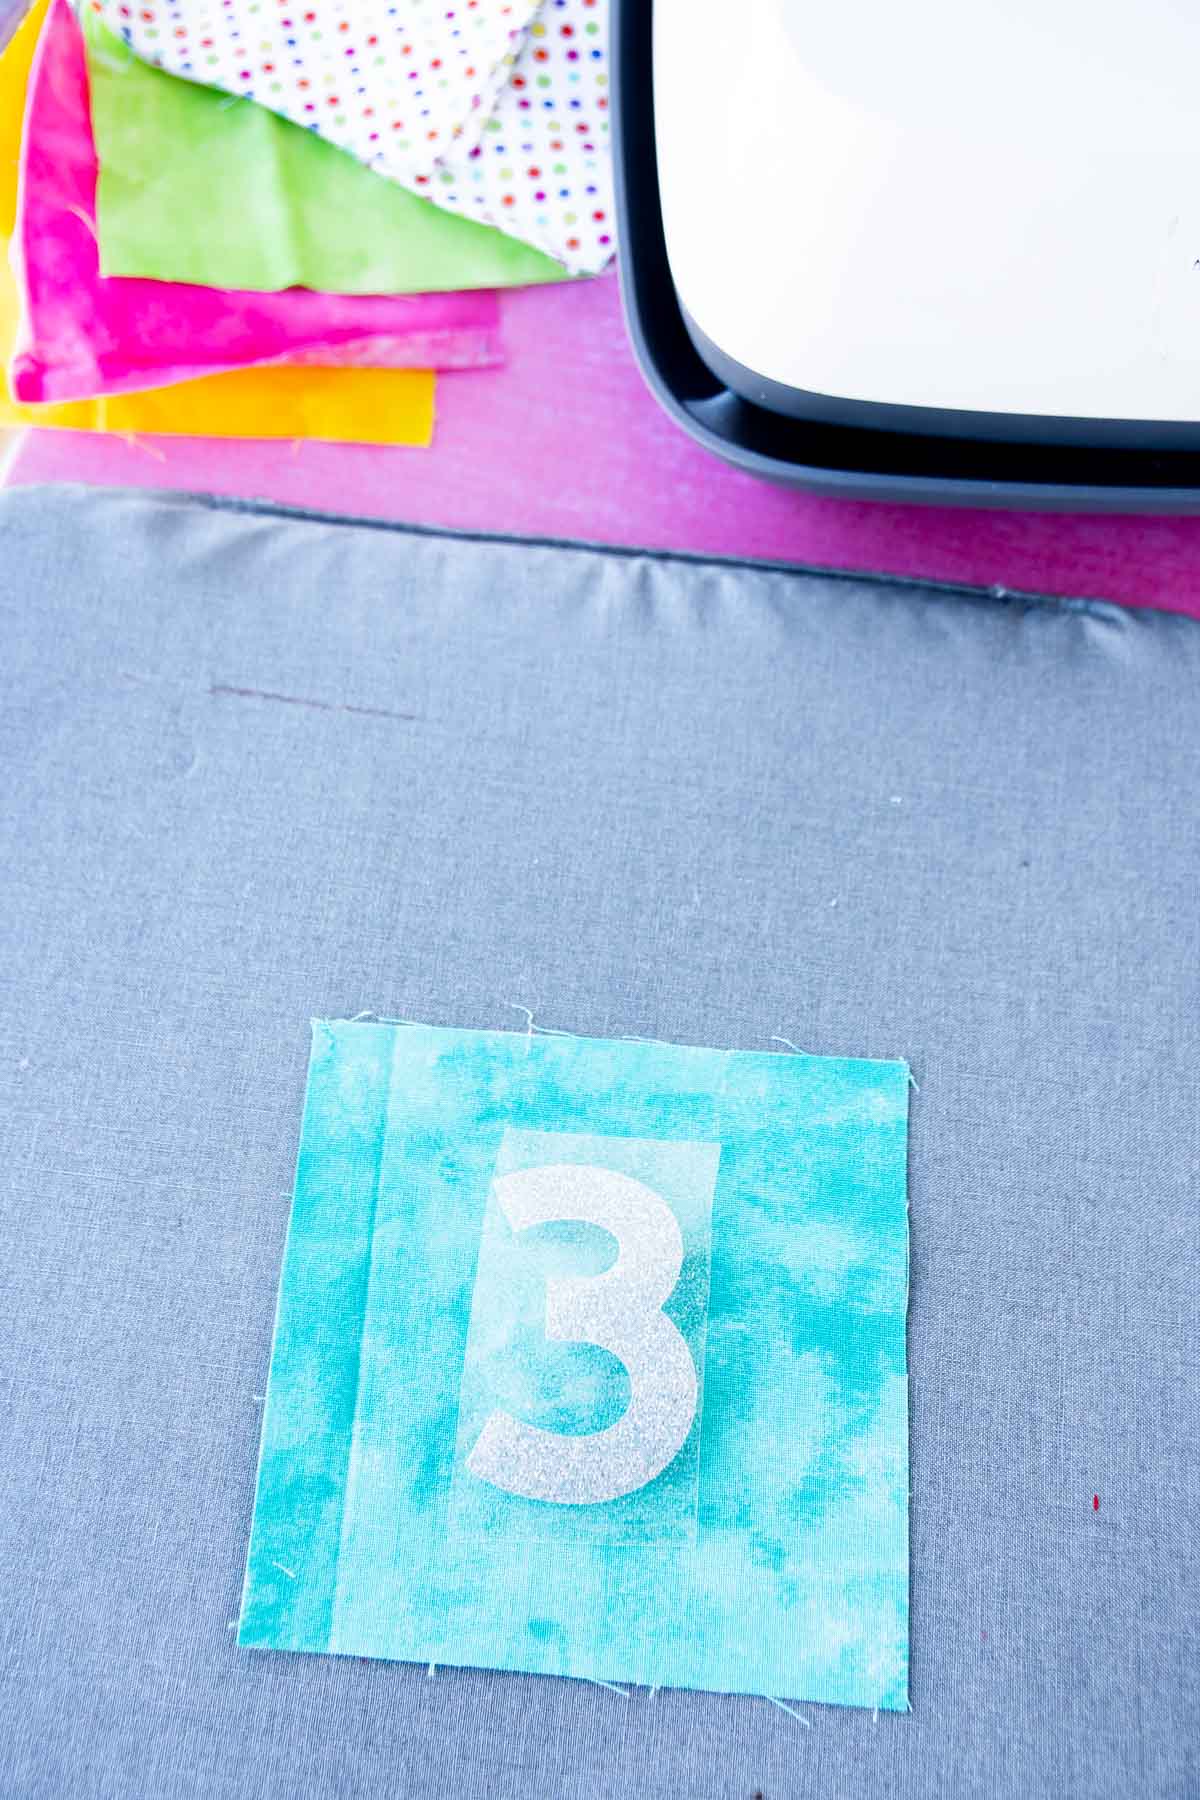
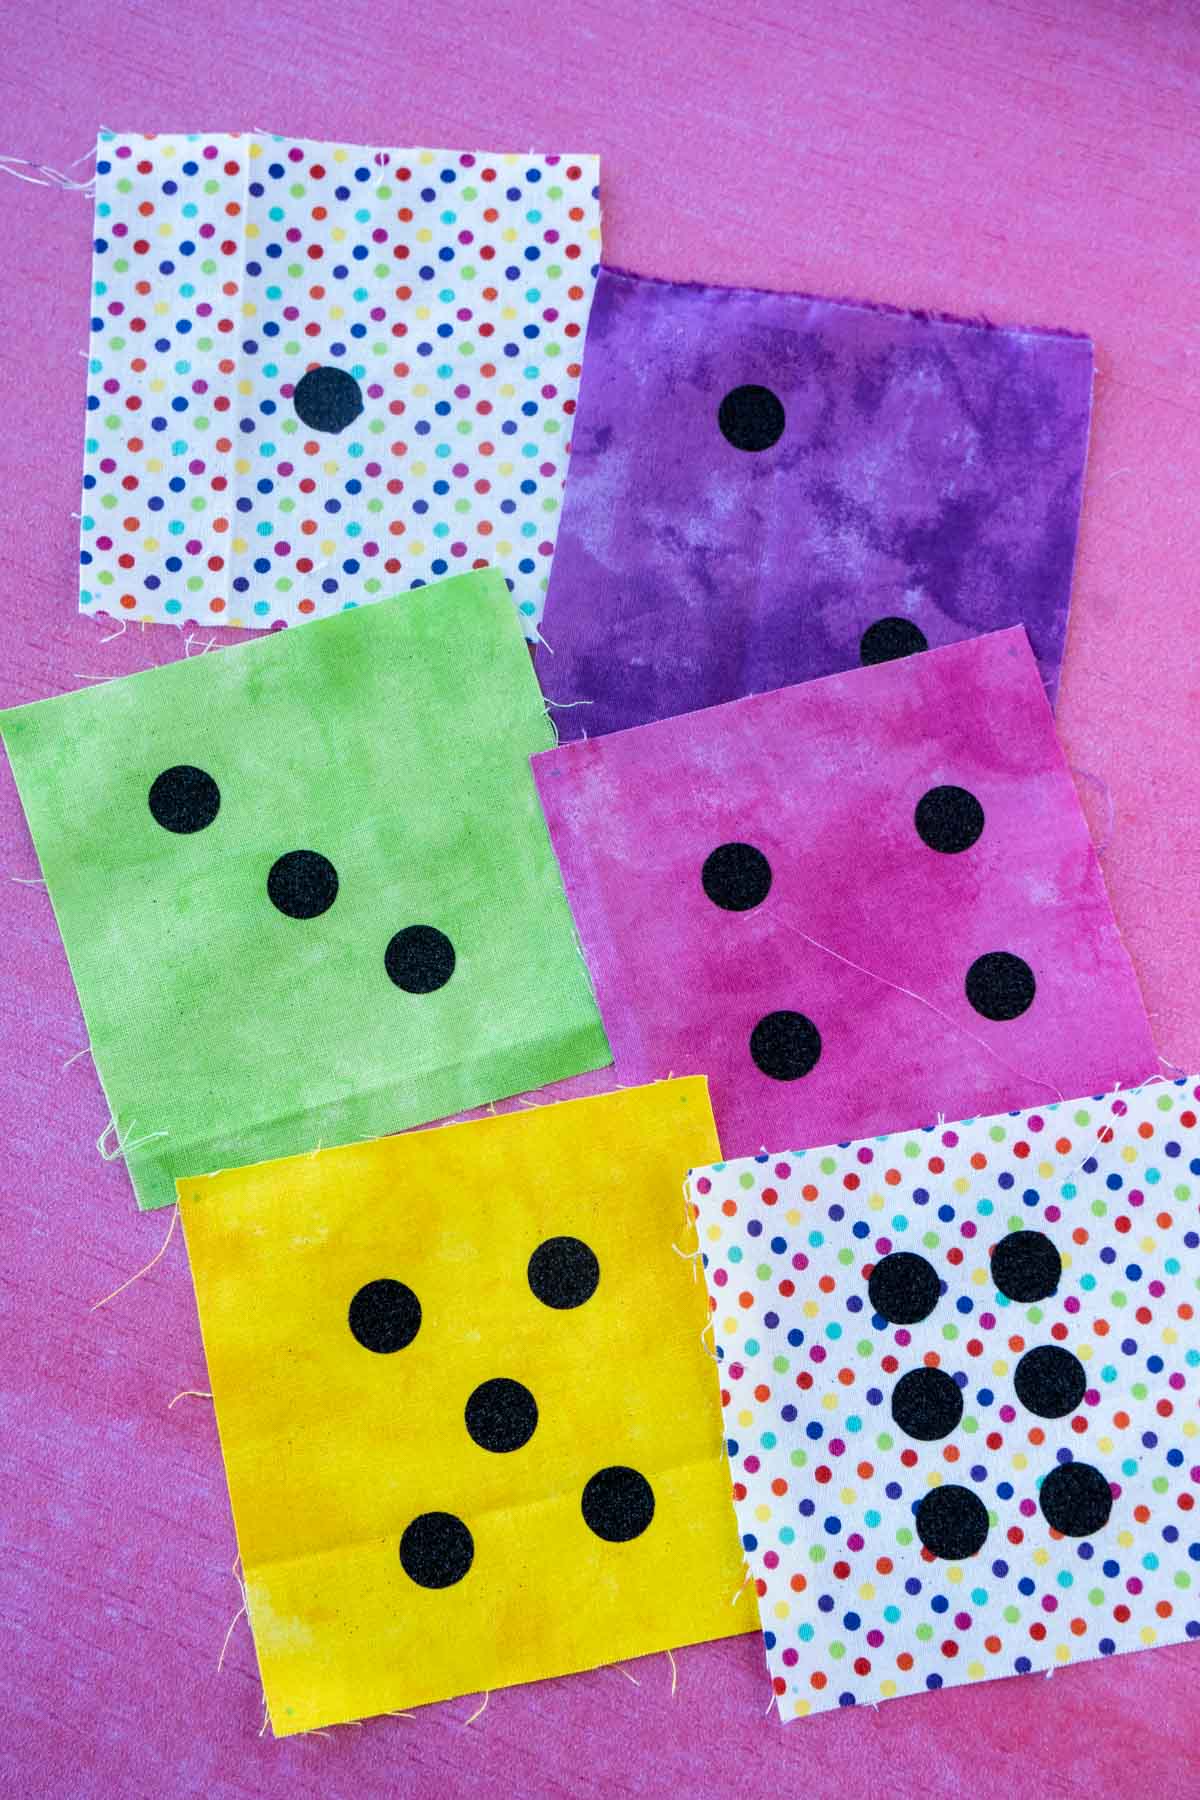
Heat up your EasyPress to whatever temperature you need for your chosen fabric and iron-on. You can find an ideal heating guide here. While the EasyPress is heating up, line up your dice to make sure that you know which numbers you want on which pieces of fabric. If you’re using two of each fabric, you’ll want 1/6 on one fabric, 2/5 on another fabric, and 3/4 on another fabric. I recommend having an actual dice nearby to make sure the placement is correct! Once the EasyPress is hot, place a square of fabric on an EasyPress mat and briefly run the EasyPress over the right side of a square of fabric to both heat up the fabric AND iron out any wrinkles, etc. Center one of your designs on top of the right side of a block of fabric with the plastic on top. Place the EasyPress on top of the design and firmly press it down for the required time block. Flip the fabric over and do a quick 15 second heat on the back. Then flip the fabric back over and set the fabric aside to move onto the next one. Remove the plastic carefully from each of your fabric blocks once you’re done ironing on all the blocks.
6 – Sew Your Blocks Together
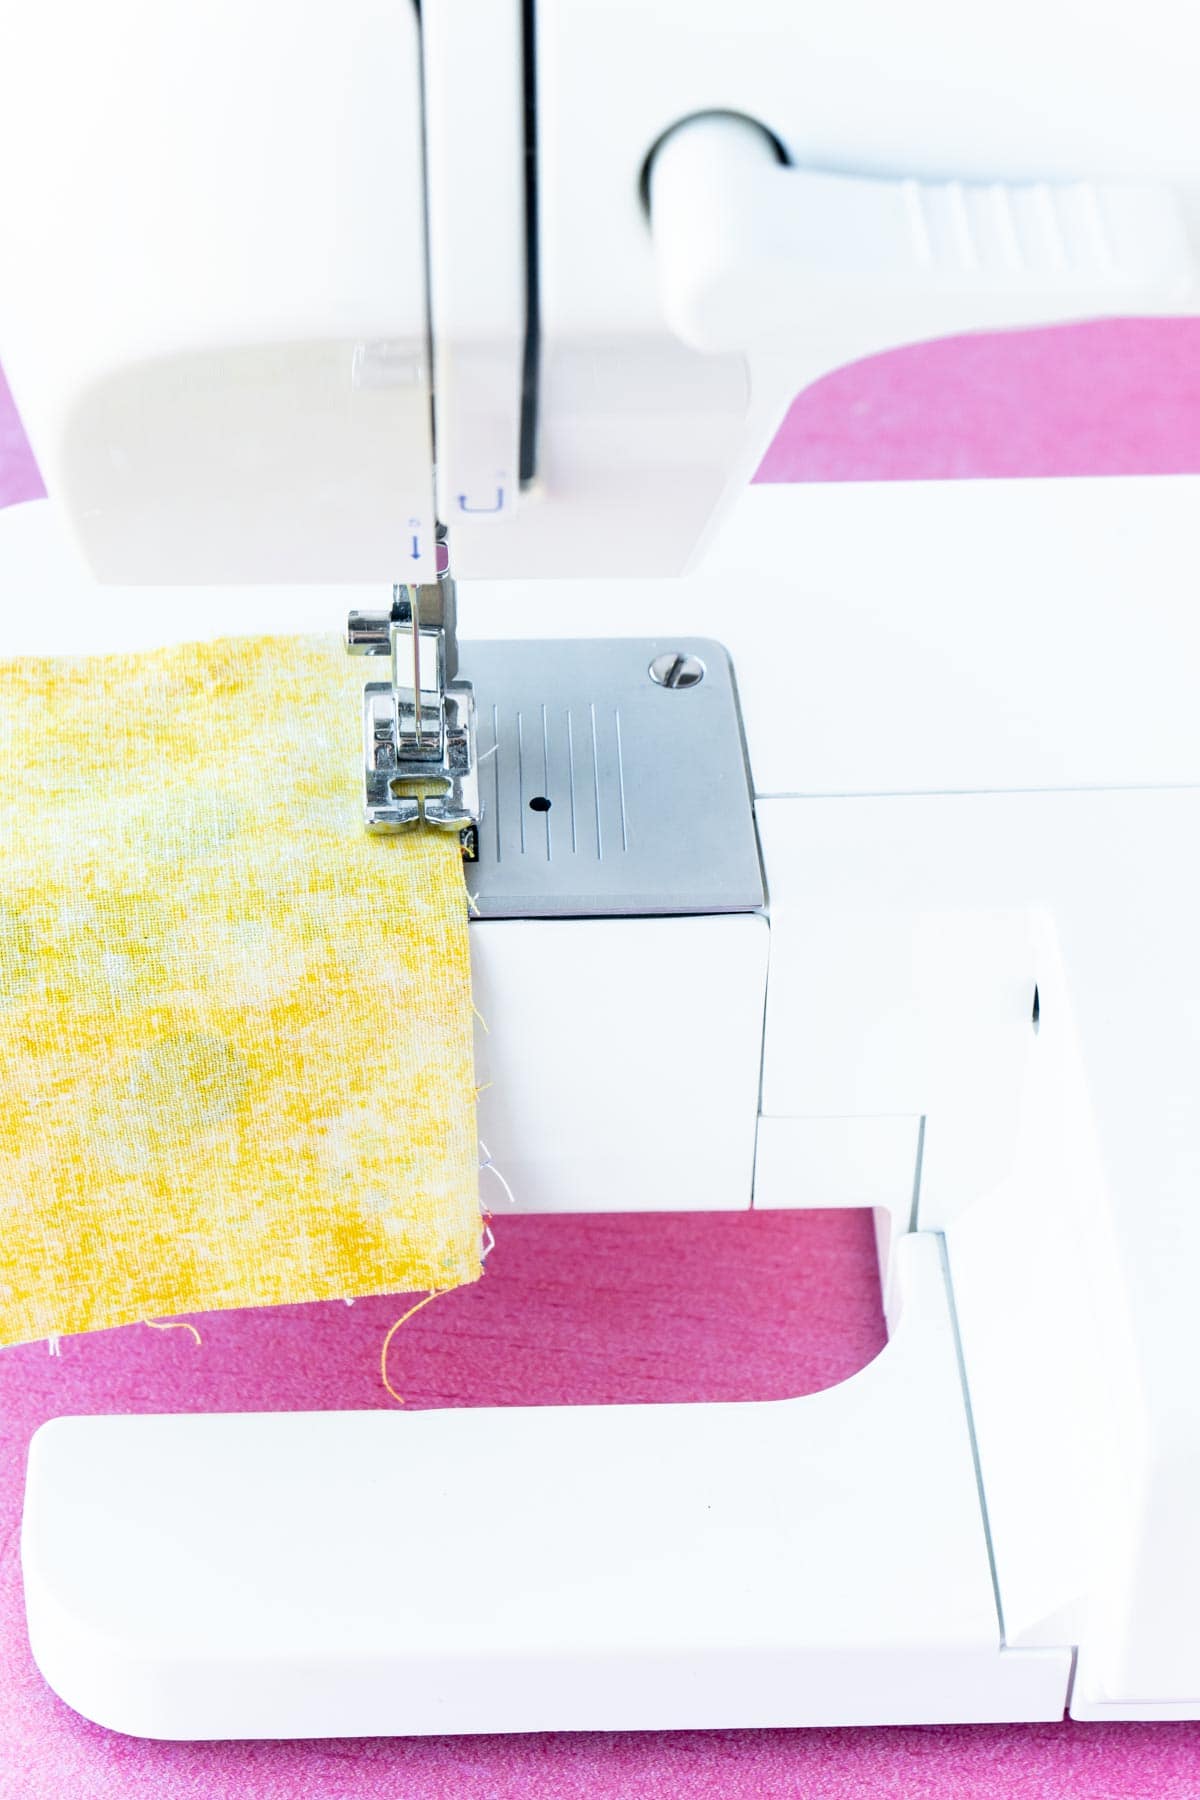
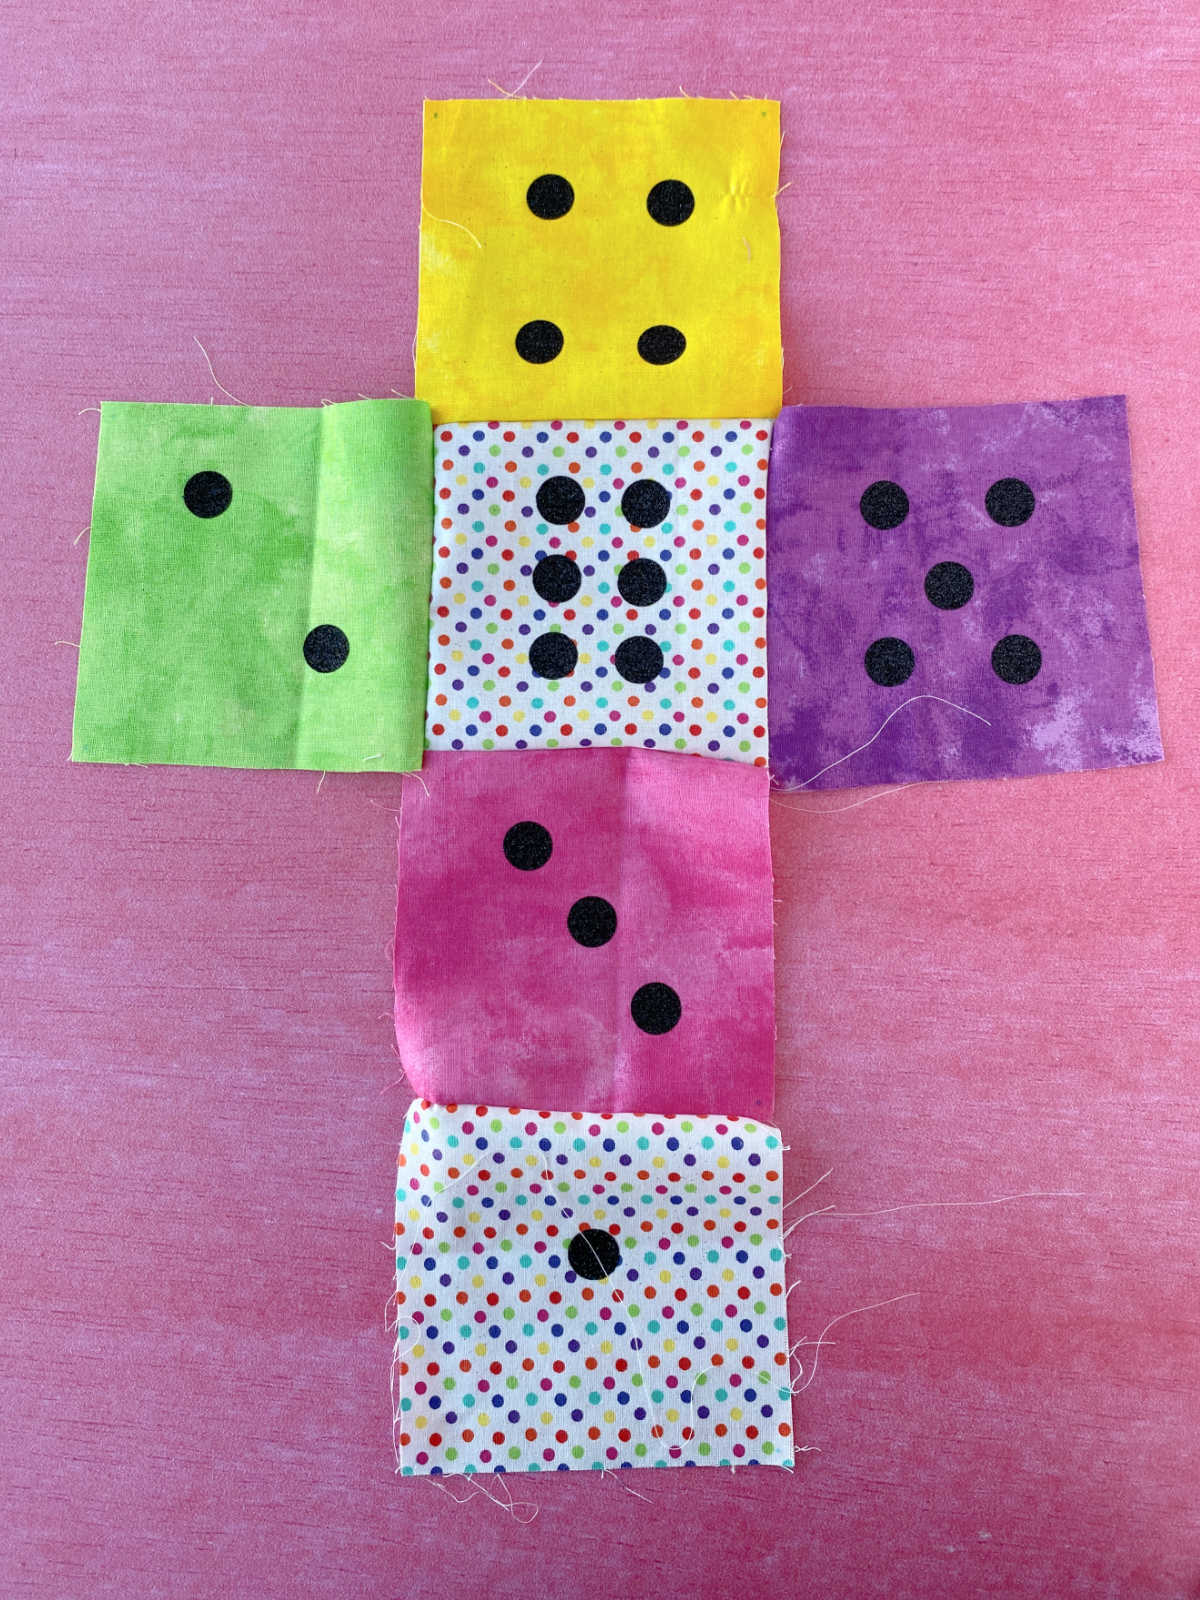
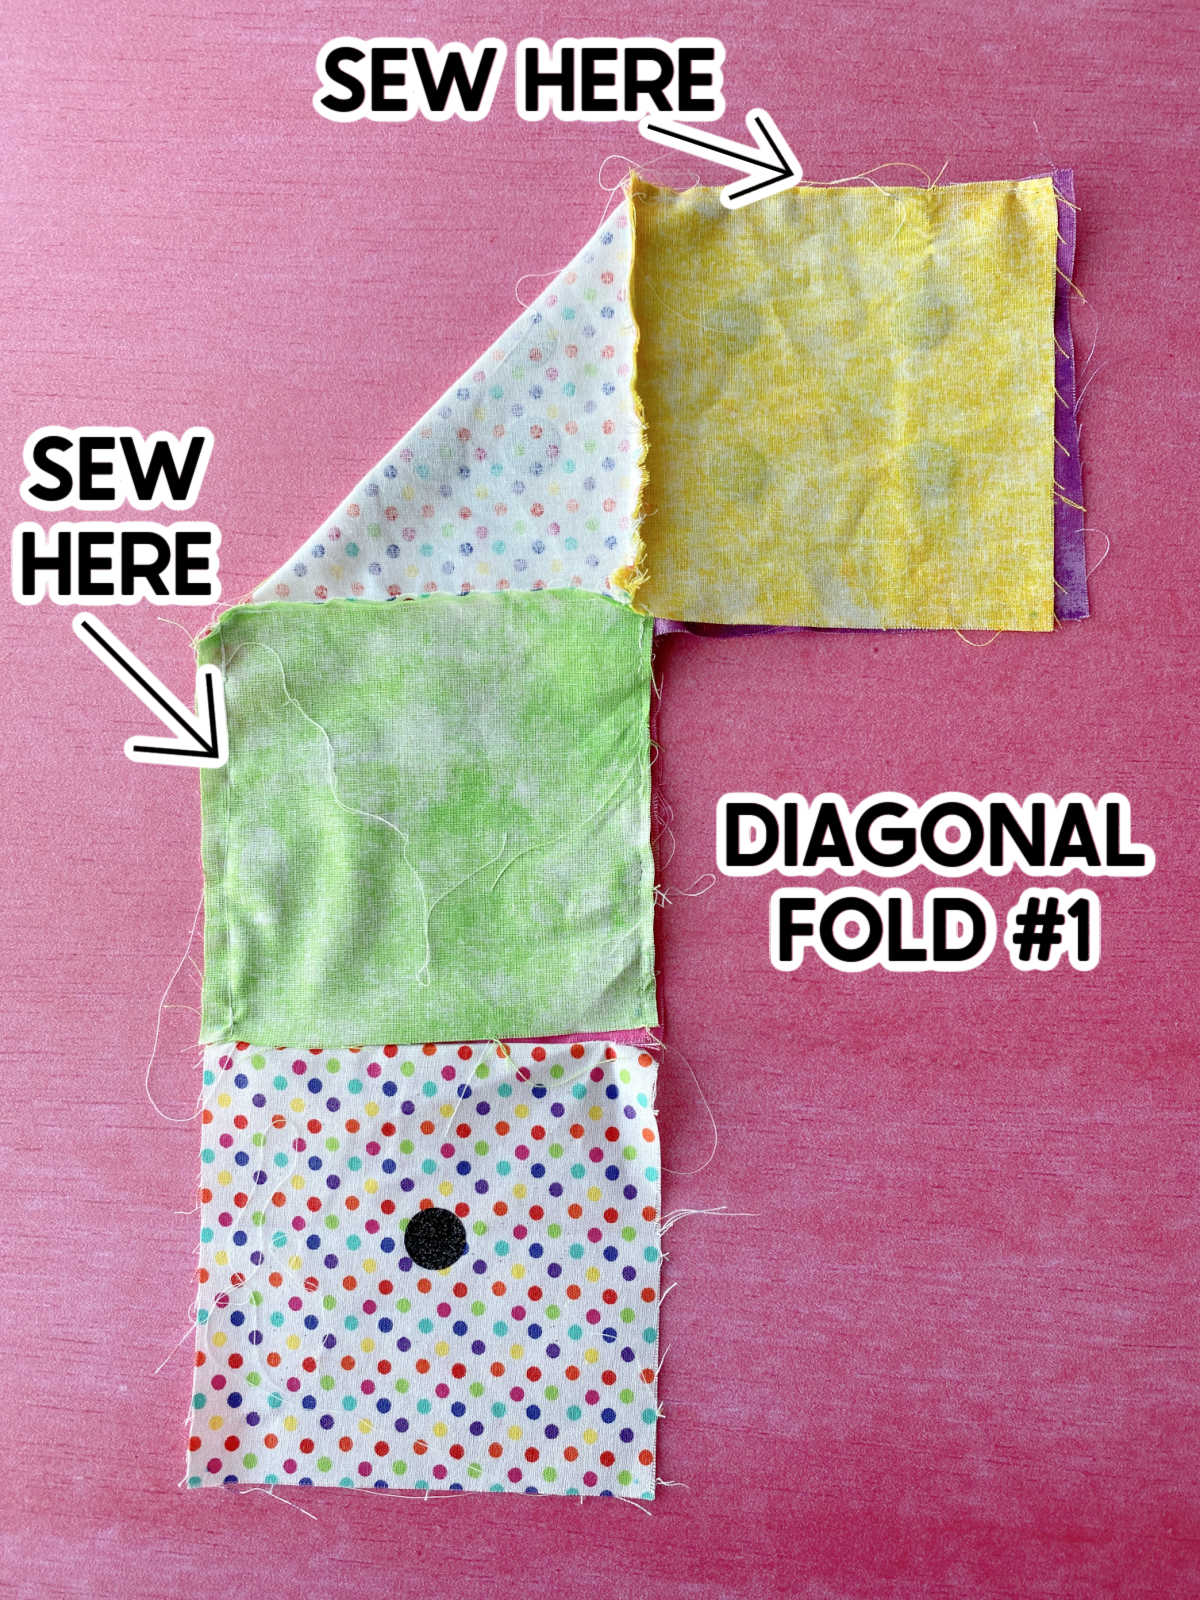
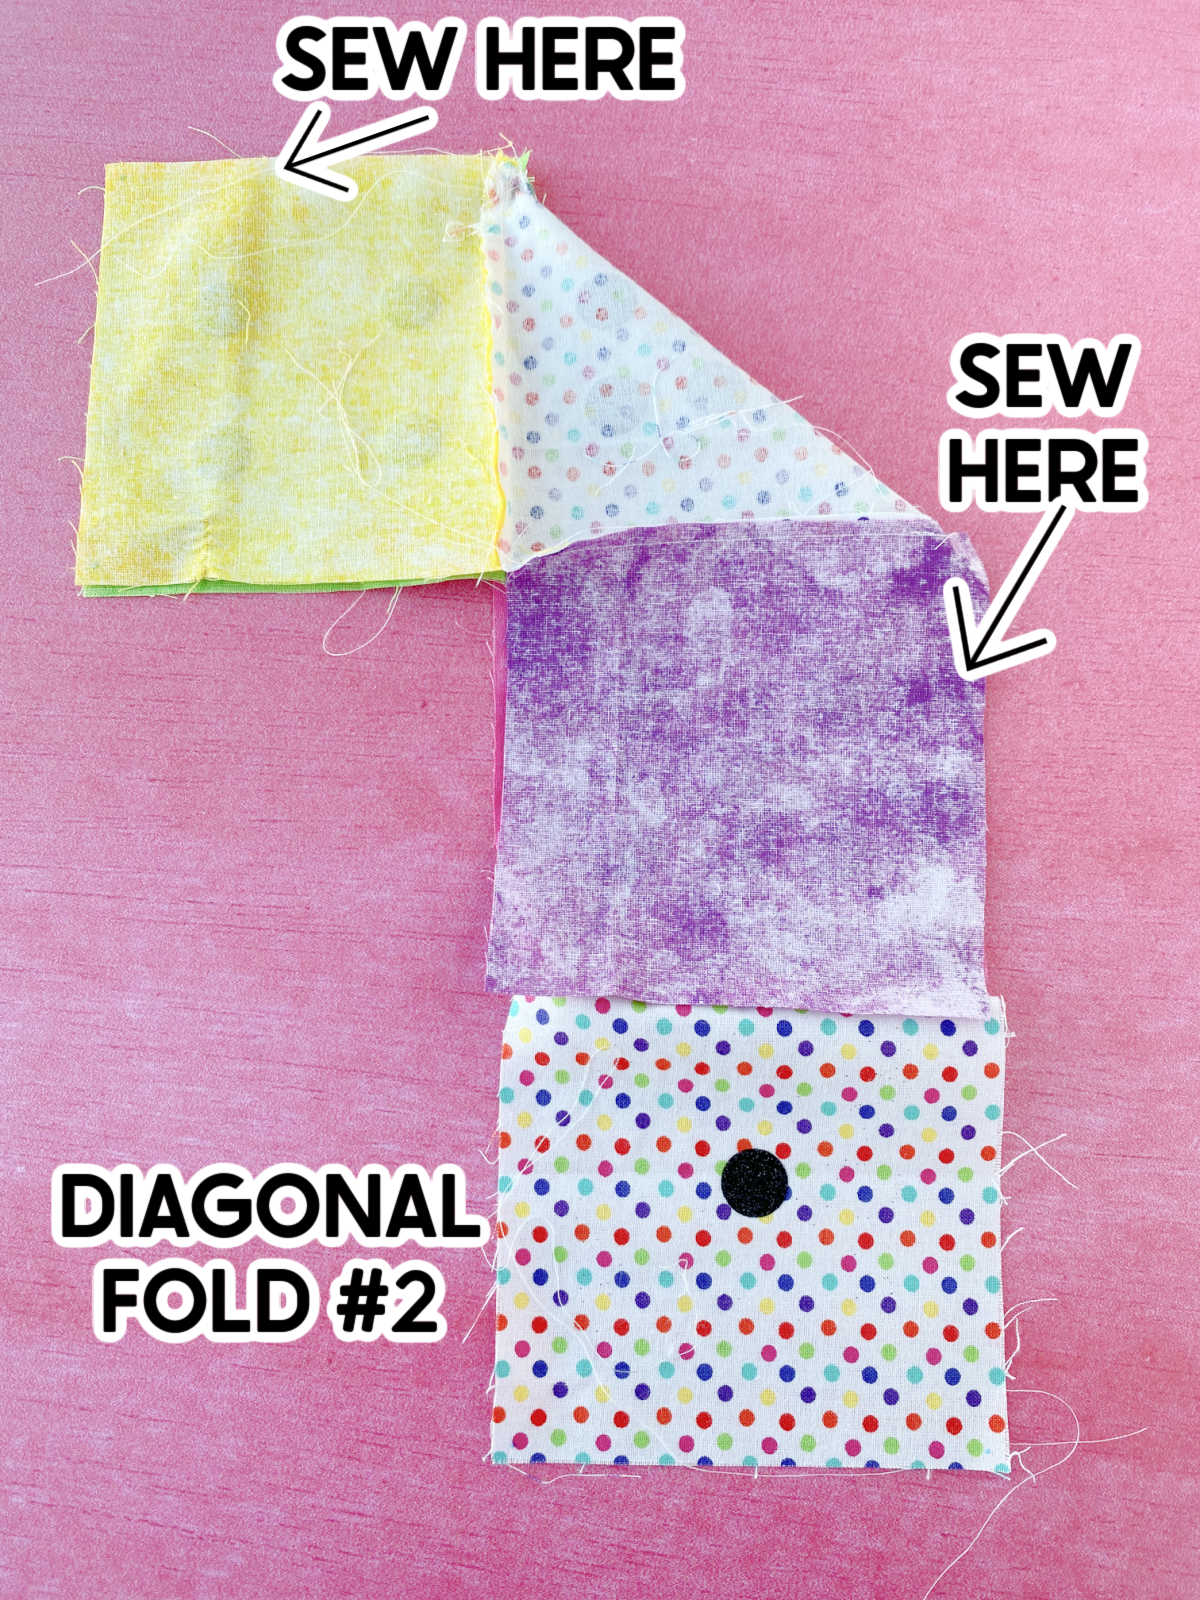
Now for the really fun part – sewing! The sewing itself is really easy but knowing which blocks to sew where is a bit confusing, so I put together some step by step photos below to help make it less confusing. One thing to always keep in mind is that right sides are ALWAYS sewn together with right sides. And when I say right sides, I mean the front side of the fabric, or the fabric you want showing on the outside of the DIY dice. The first thing you’re going to do is sew all of your blocks together into a cross shape, with one side of the cross having an extra block. I started with sewing together one block at a time and just keep adding to it until I got this. With your fabric laid out like the picture above, fold the entire cross over diagonally so that top middle block is folded in half, into a triangle. Line up the blocks and sew the two blocks together using my picture diagram below. Now unfold the dice (if you sewed this correctly, you’ll be able to open it back up) then fold it diagonally the other direction. Sew the remaining sides according to my image below. When you’re done with this step, you should have a dice with five sides and a top that is only currently attached on one side. Sew the top onto the dice bottom on two of the other three sides, keeping one of the sides open. Once you’re finished this, reach in and carefully flip your dice inside out so now the right sides are on the outside and the sewn seams are on the inside.
7 – Stuff Your Dice
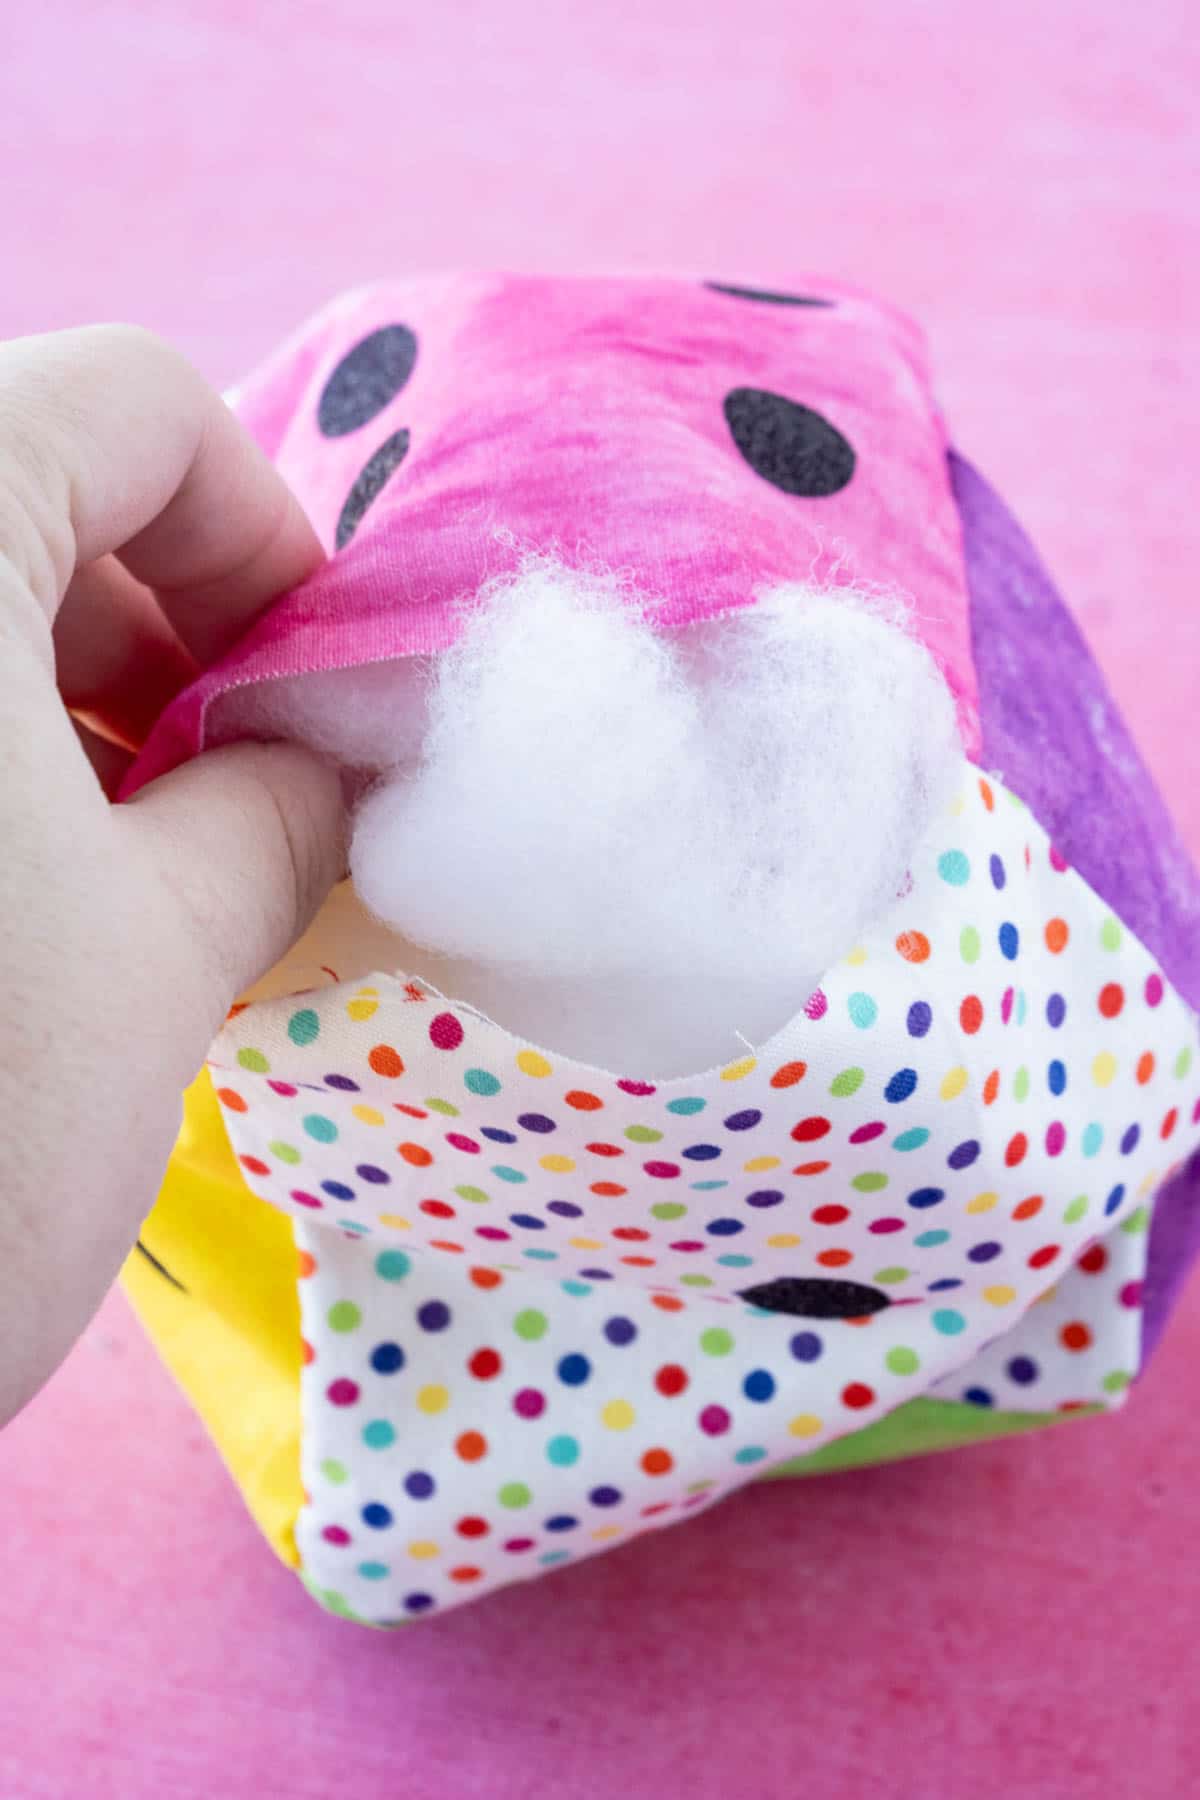
Use batting to stuff the dice as full as you can while still being able to pinch the open seams closed. I recommend using your fingers to get as much as batting into the corners as possible to make it more of a square dice shape than a circle.
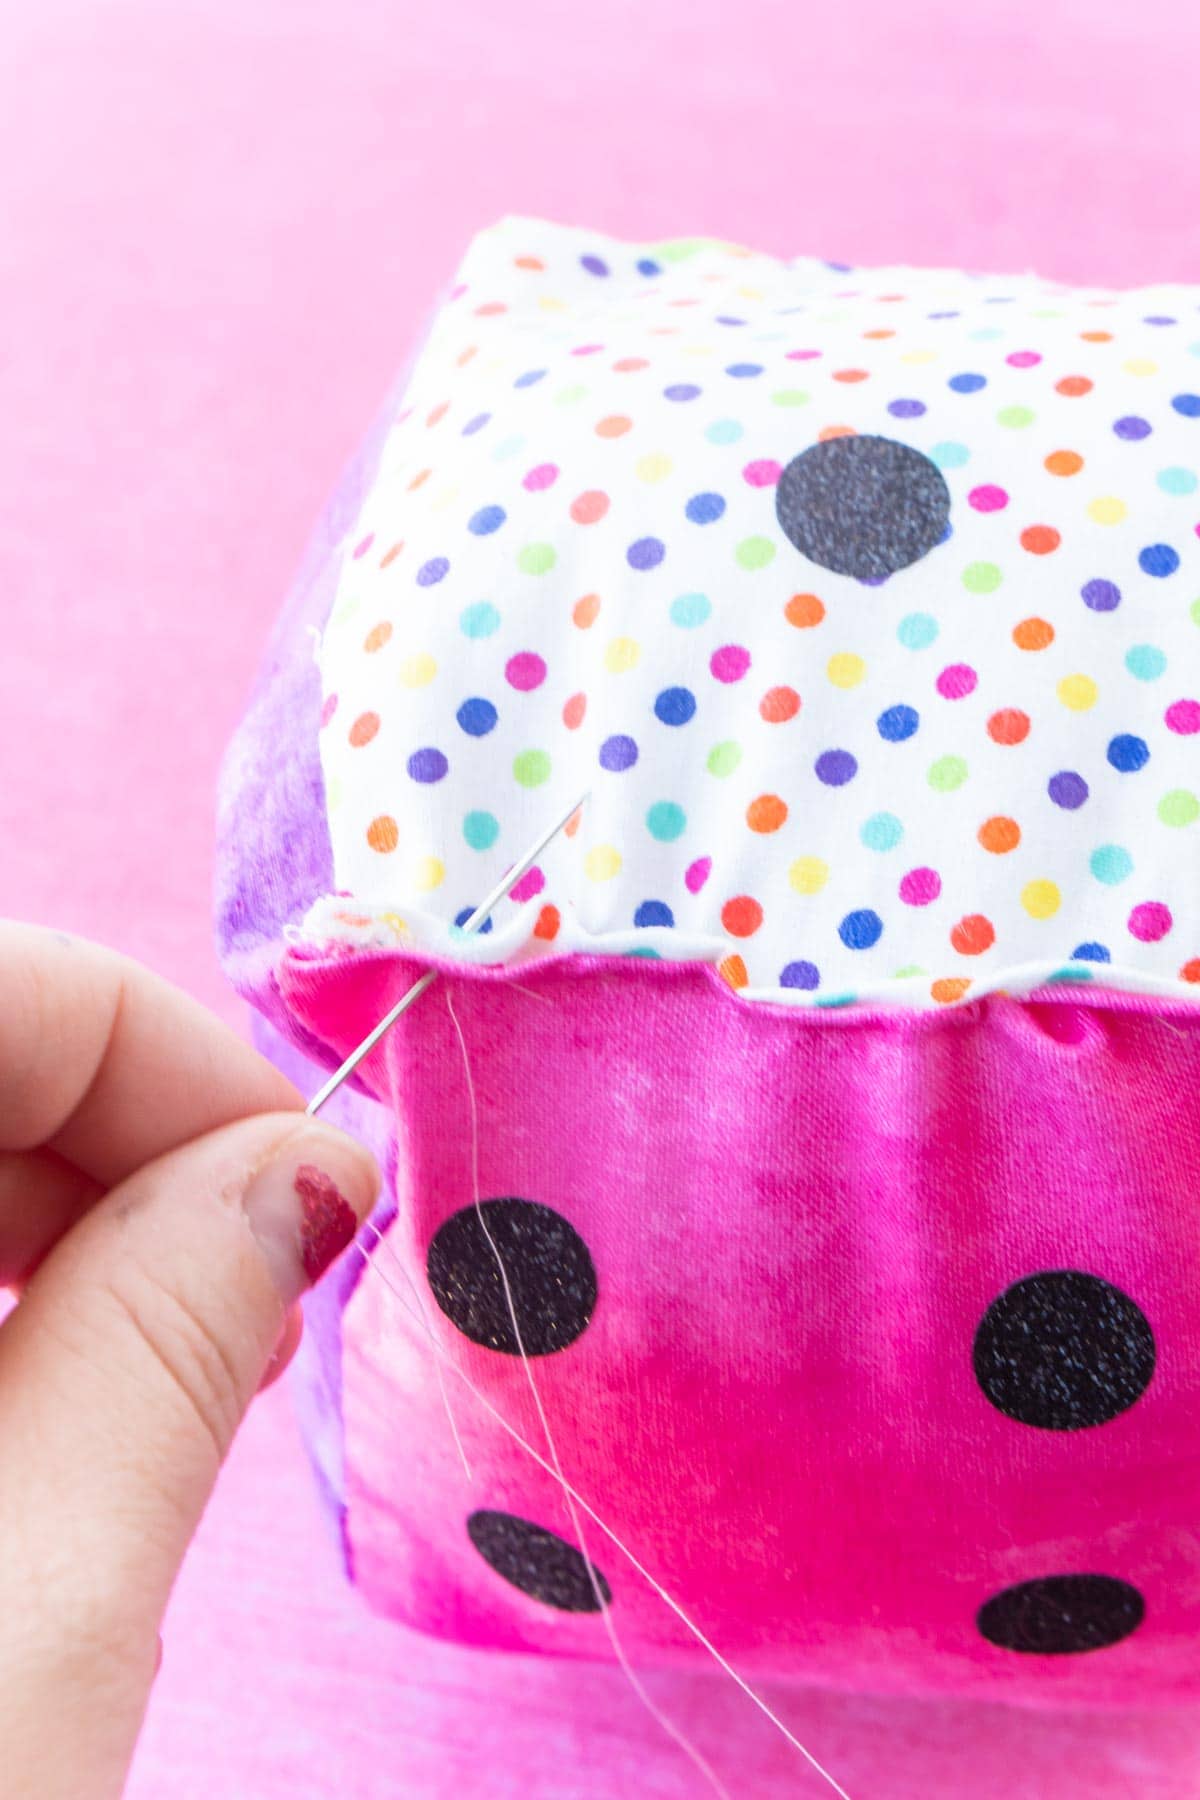
8 – Hand Sew Dice Closed
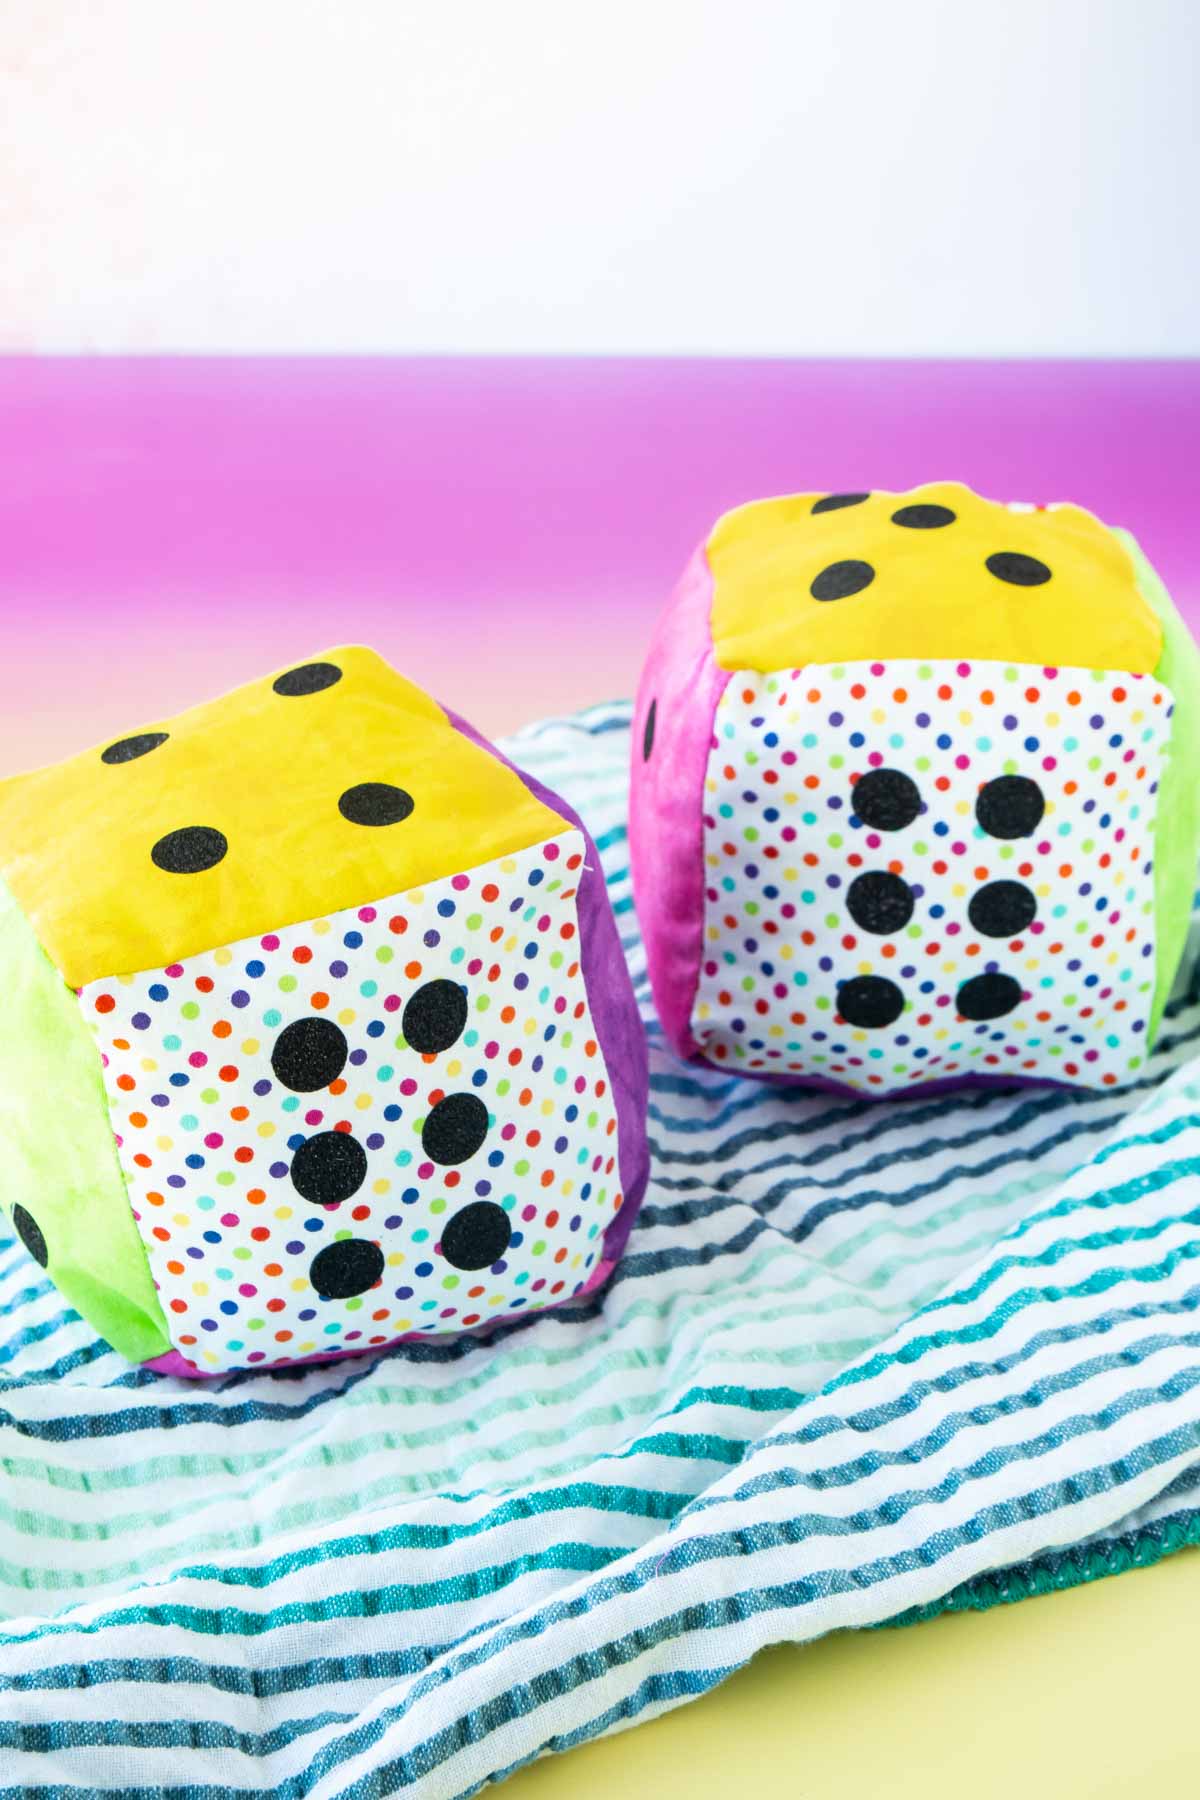
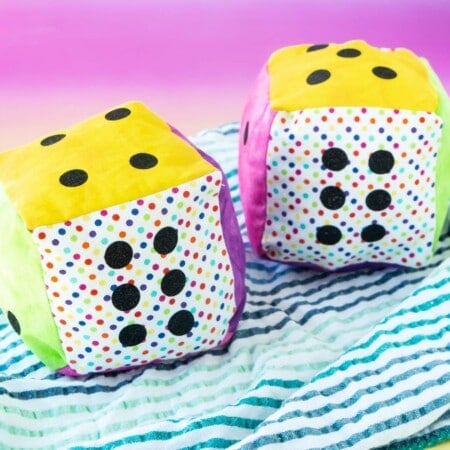
Once the dice is completely stuffed, pinch together the two open seams and hand switch closed using either a ladder stitch or a whipstitch, knot securely once closed. And that’s it, you’re all done! You now have your very own set of custom DIY dice, perfect for playing all of your favorite dice games!
Dice Games for Kids
Speaking of dice games, here are a few fun games you could play with these dice at home! I came up with all of these ideas specifically for games kids and families could play at home, but you could also do these are parties or with any age!
Other Dice Games
If you make your very own pair of DIY dice, you should try them out in some of these fun games too! They would be perfect with large dice everyone can see!
Saran wrap game – one of the best dice games ever! Roll the dice for a chance to unwrap prizes and treats in a big ball of saran wrap!Left Right Eat – one of the best birthday party games ever, roll the dice for a chance to win or lose birthday treats! Roll a rainbow – see which team can roll a rainbow using just dice first!Thanksgiving dice game – a fun twist on a typical gratitude game that uses dice to determine nice things for people. tosay!